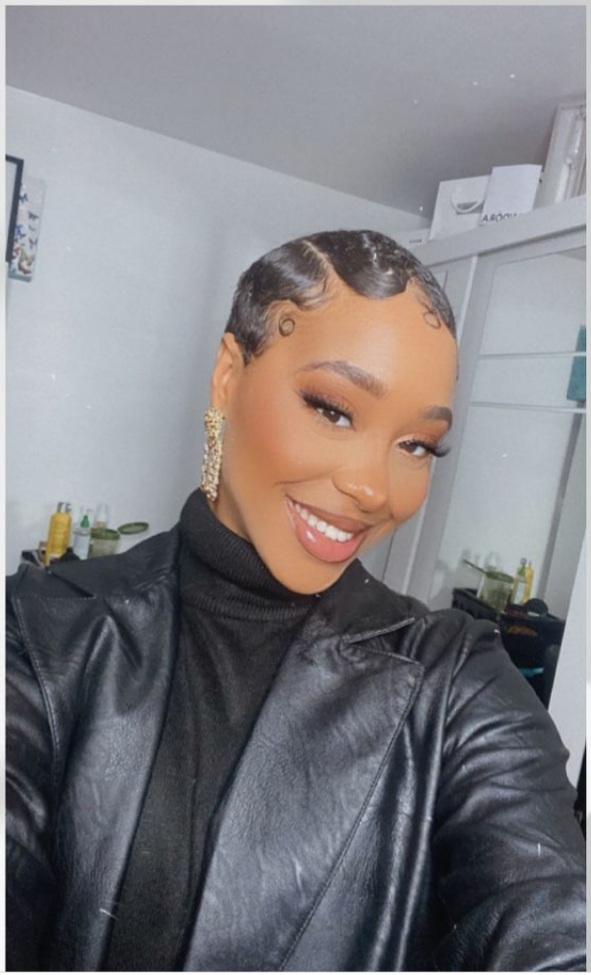

Short hair is bold, fresh, and full of personality, yet many people believe it is harder to style than long hair. When you have long hair, you can quickly pull it into a ponytail, bun, or braid and be ready in minutes. With short hair, you do not always have that option. Every detail shows, and there is less length to hide behind. But that does not mean styling short hair has to be complicated. In fact, some of the most elegant and eye-catching hairstyles were created specifically for shorter cuts.
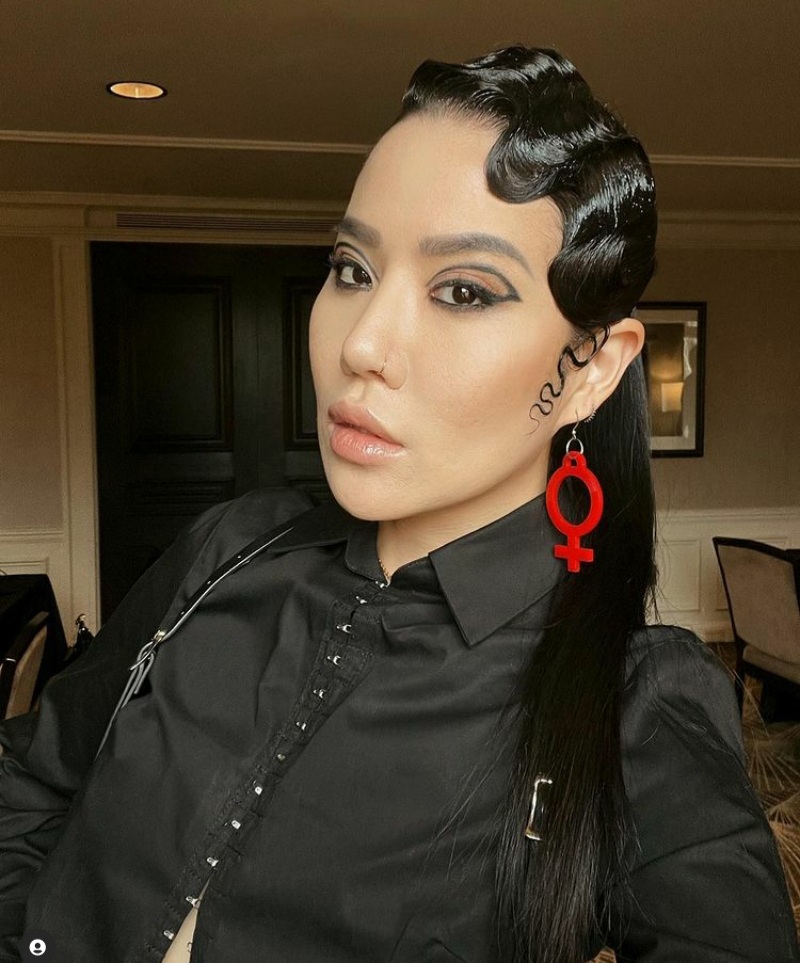
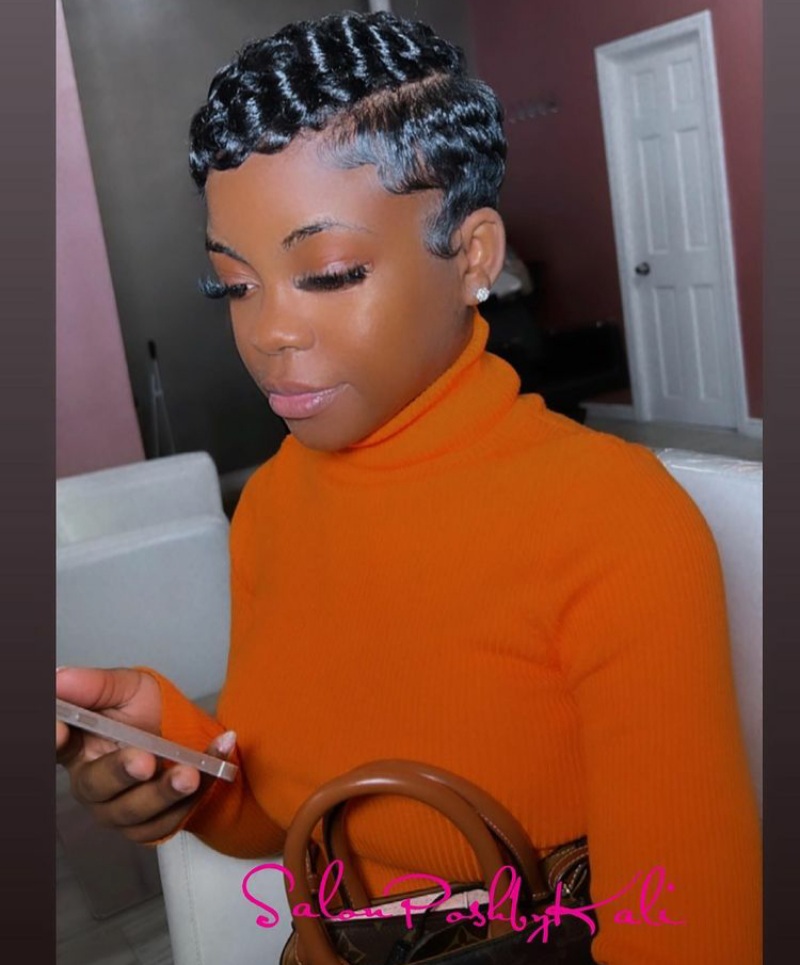
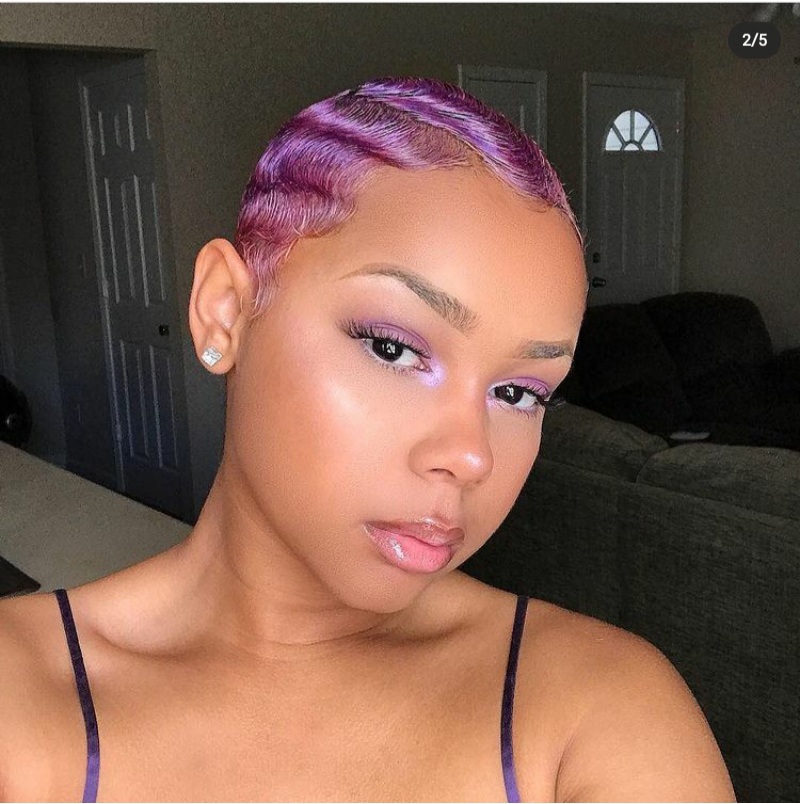
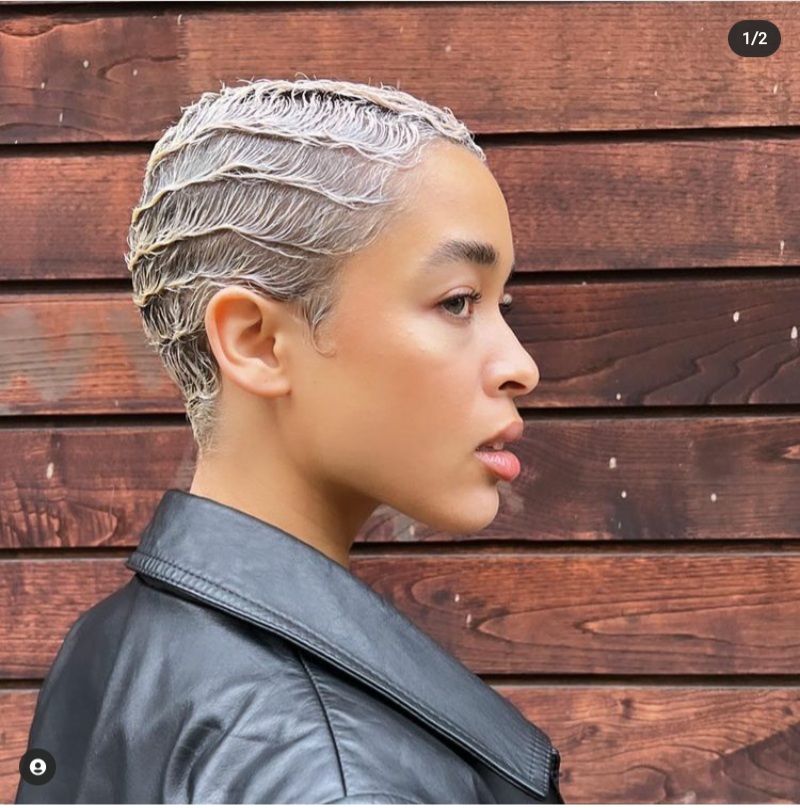
One simple yet beautiful way to style short hair is with finger waves. Sleek, sculpted, and timeless, finger waves can instantly elevate your look from everyday casual to polished and glamorous. Whether you are heading to a formal event, a night out, or simply want to try something different, this classic style delivers impact without requiring heat tools or complicated techniques.
The History and Glamour of Finger Waves
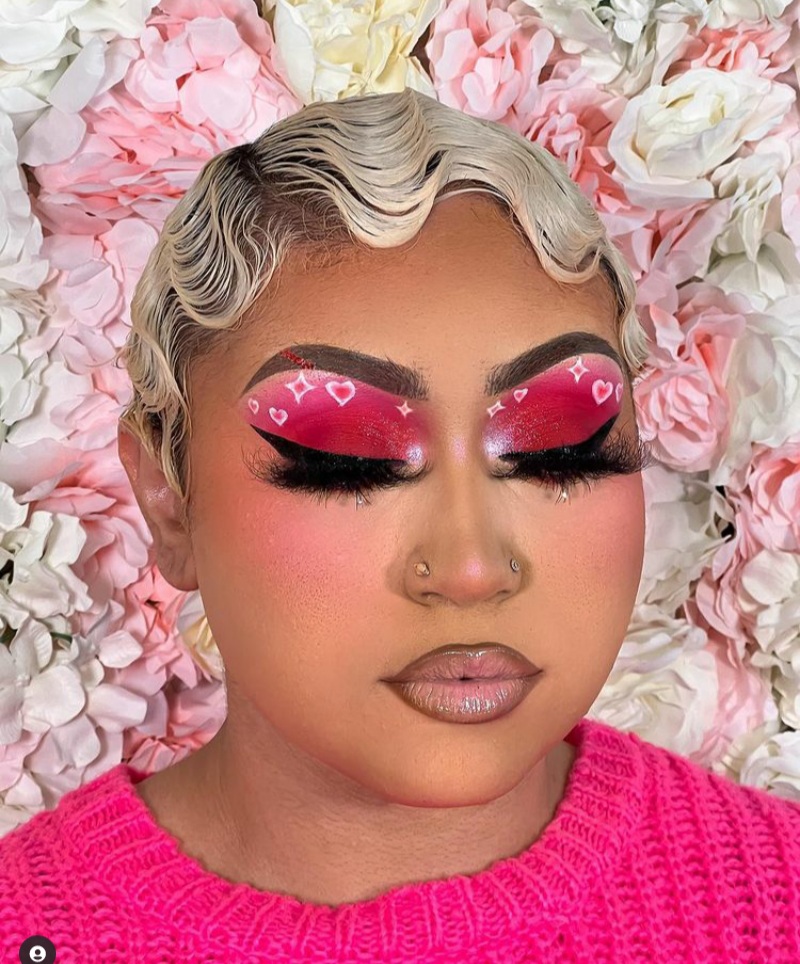
Finger waves have been around since the 1920s, rising to popularity during the Jazz Age. The style became closely associated with flapper fashion and Hollywood glamour. Actresses and style icons wore their hair in glossy, sculpted waves that framed the face and exuded sophistication. The look symbolised confidence, independence, and modern femininity at a time when women were redefining social norms.
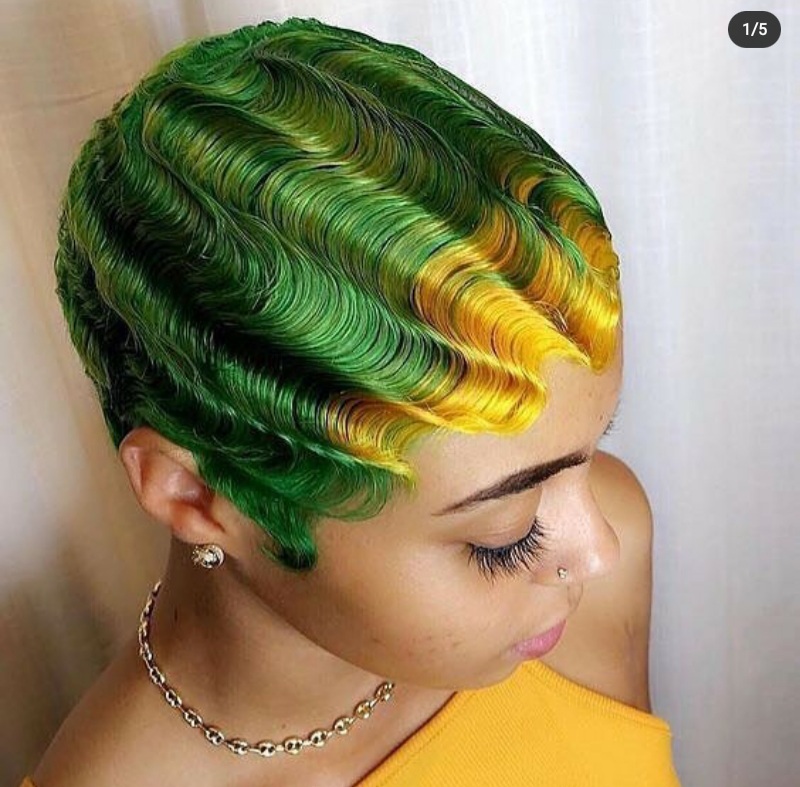
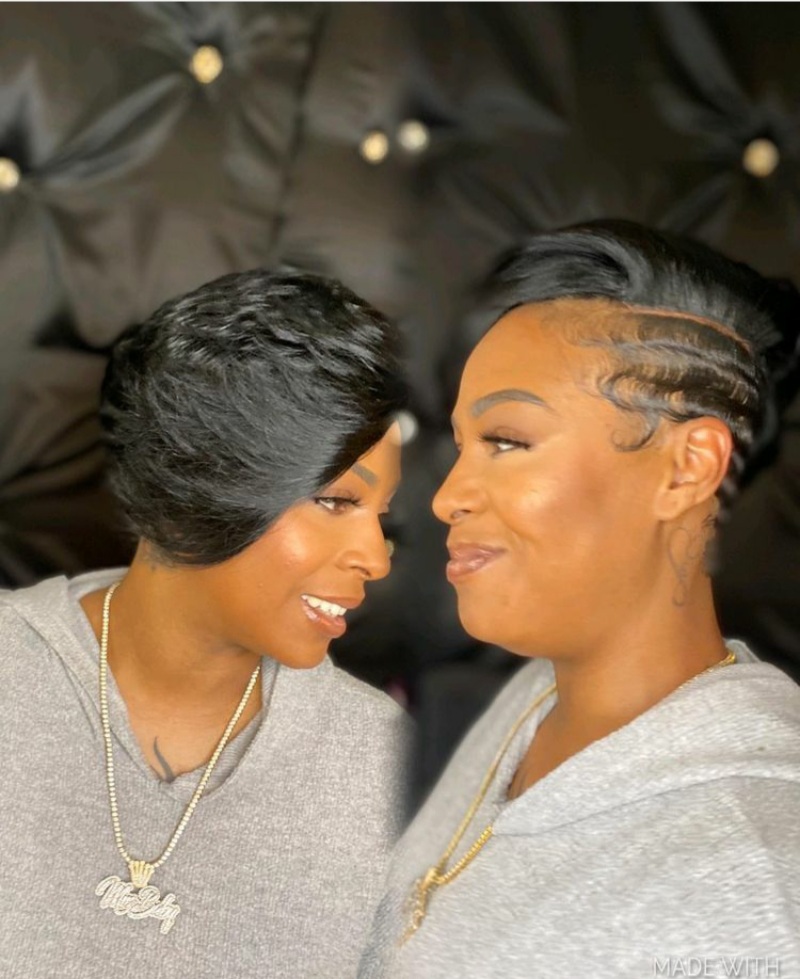
Throughout the decades, finger waves have resurfaced time and again on red carpets and runways. From vintage-inspired bridal looks to bold contemporary interpretations, they remain a staple in the world of beauty. What makes finger waves so enduring is their versatility. They can be soft and subtle or dramatic and defined. They work beautifully on pixie cuts, bobs, tapered cuts, and natural short styles.
Tools and Products Needed for Finger Waves
One of the advantages of finger waves is that they do not require many tools. However, using the right products will make the process smoother and the results longer-lasting.
You will need:
- A fine-tooth comb
- Hair clips or wave clips
- A styling gel or mousse with strong hold
- A spray bottle with water (if styling on damp hair)
- A silk or satin scarf (for setting)
- Optional: edge control or shine spray
The key to perfect finger waves is hold and control. Since the style relies on shaping the hair into defined ridges and curves, a strong styling product is essential. Choose a gel that offers definition without flaking. For a softer finish, mousse can also work, particularly on naturally wavy or curly hair.
Preparing the Hair for Finger Waves
Preparation is crucial. Finger waves look best on clean, well-conditioned hair. Product build-up or excess oil can prevent the hair from holding its shape.
Start by washing and conditioning your hair. Towel-dry gently and leave it slightly damp. Finger waves are typically created on damp hair because it is easier to mould and shape. If your hair dries while you are styling, lightly mist it with water.
Apply your chosen styling product evenly throughout the hair. Be generous but not excessive. You want enough product to give hold without weighing the hair down. Comb through to distribute the product from root to tip.
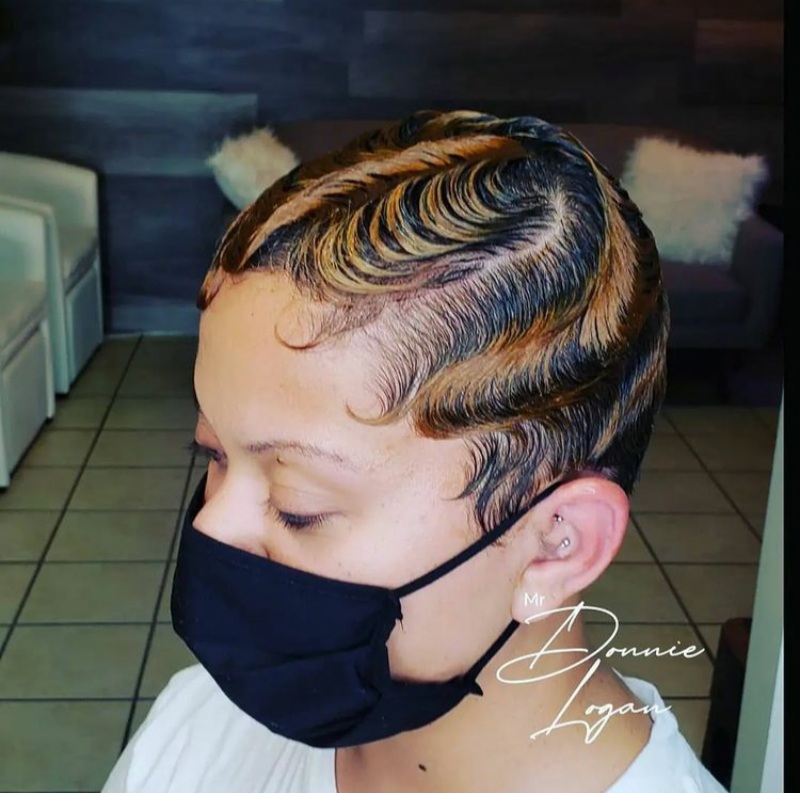
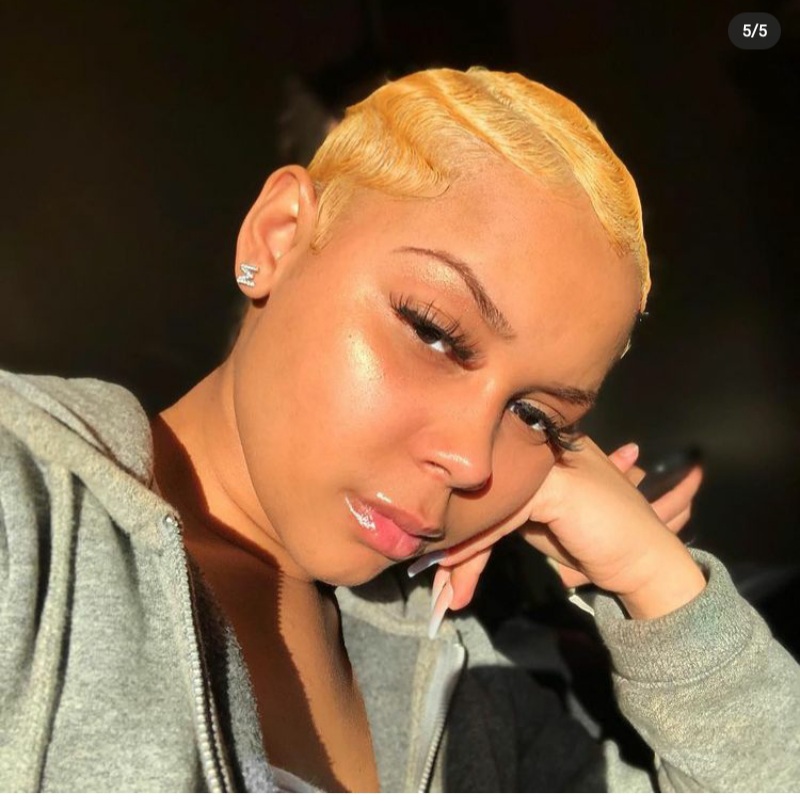
Creating Basic Finger Waves
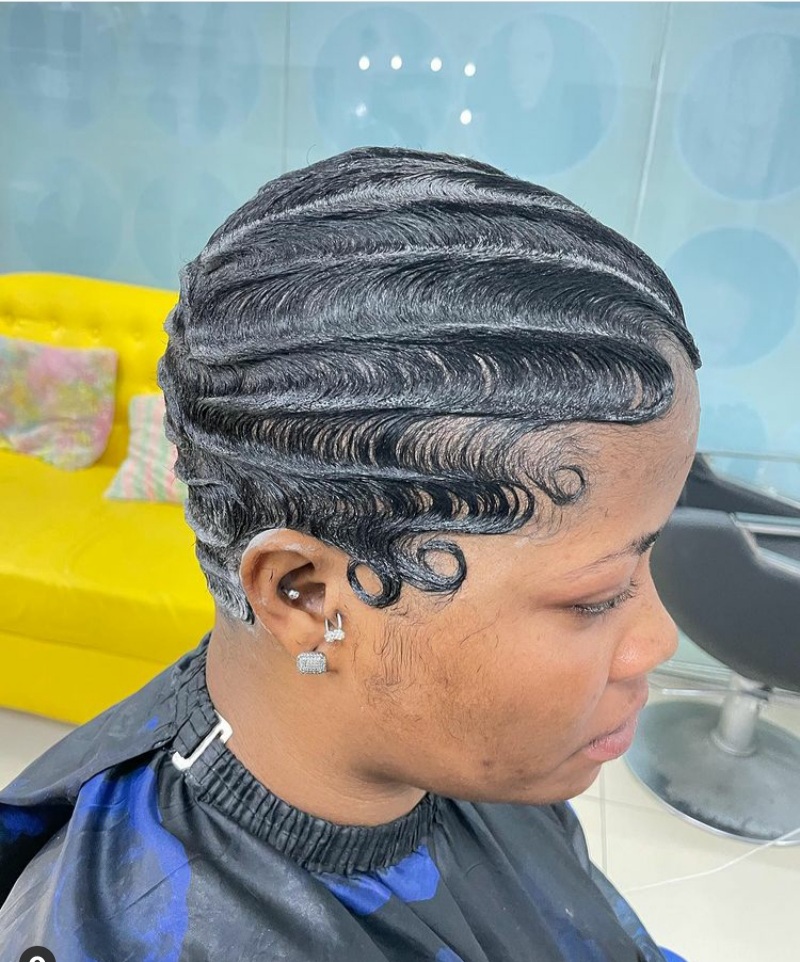
To form finger waves, begin by creating a deep side part. This enhances the dramatic, vintage look.
Place your comb at the hairline near the part. Press the comb into the hair and push the hair forward slightly to form a ridge. Hold that ridge in place with your finger. Then, move the comb in the opposite direction to create the next curve. Continue this motion, forming an “S” pattern along the scalp.
Secure each ridge with a clip if needed. Work your way around the head, maintaining consistent spacing between waves. Once complete, allow the hair to air dry or sit under a hooded dryer. Avoid touching the waves while they set, as this can cause frizz or disturb the shape.
When fully dry, remove the clips gently. You can lightly smooth with a bit of oil or shine spray for a polished finish.
Finger Waves on Different Hair Types
Finger waves can be adapted to suit various hair textures. However, the technique and product choice may vary depending on whether your hair is straight, wavy, curly, or coily.
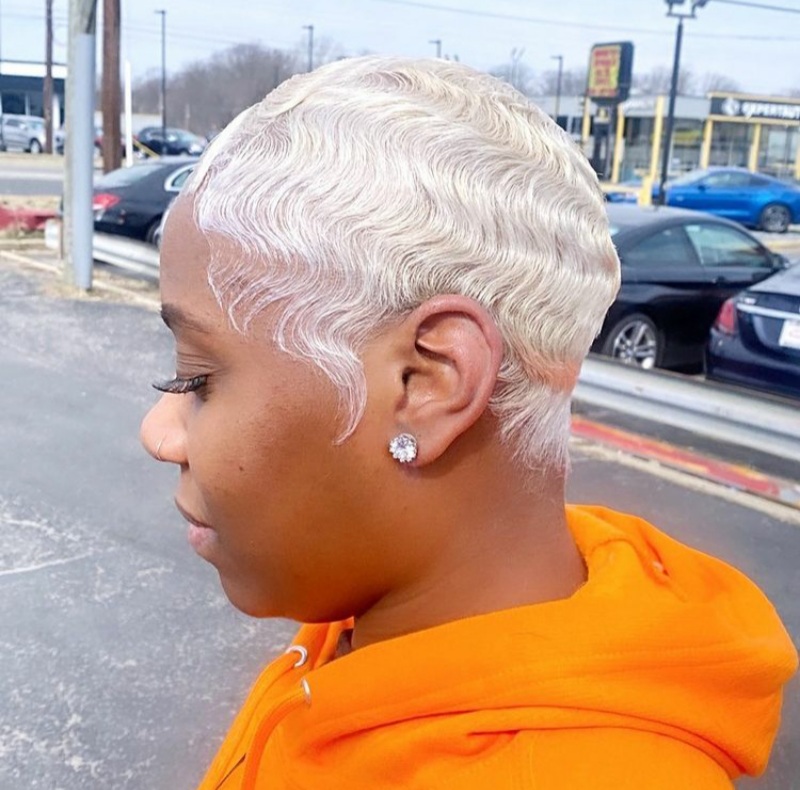
Straight Hair
Straight hair is often the easiest texture for finger waves. Because the hair naturally lies flat, it responds well to sculpting and shaping.
Use a strong-hold gel to help maintain the wave pattern. Since straight hair can sometimes resist staying in place, clips are especially helpful during the setting process. Ensure the hair is thoroughly dry before removing clips to prevent the waves from collapsing.
For added hold, you can finish with a light mist of hairspray.
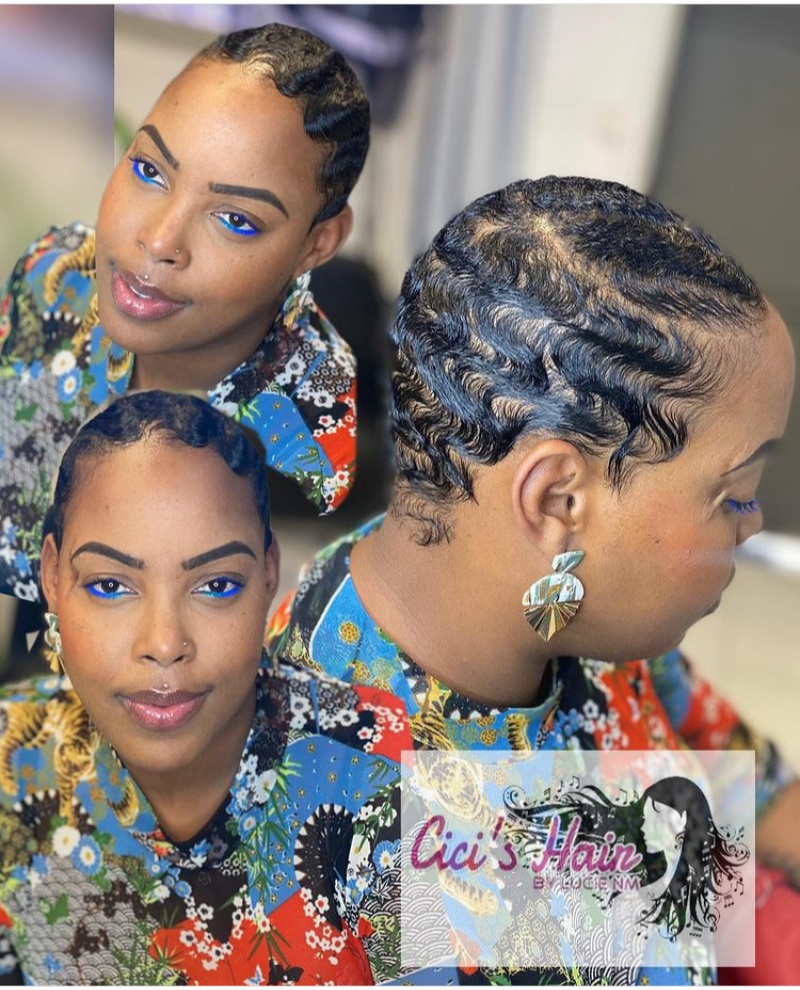
Wavy or Curly Hair
Wavy and curly hair can create beautiful, fuller finger waves with natural texture enhancing the look. However, you may need to smooth the hair slightly before shaping to ensure defined ridges.
Apply a smoothing gel or mousse and comb the hair flat while damp. The natural bend in your hair can help the wave formation, but focus on controlling frizz. Using a scarf to wrap the hair while it dries can improve sleekness and definition.
Once dry, avoid over-manipulating the waves to preserve their shape.
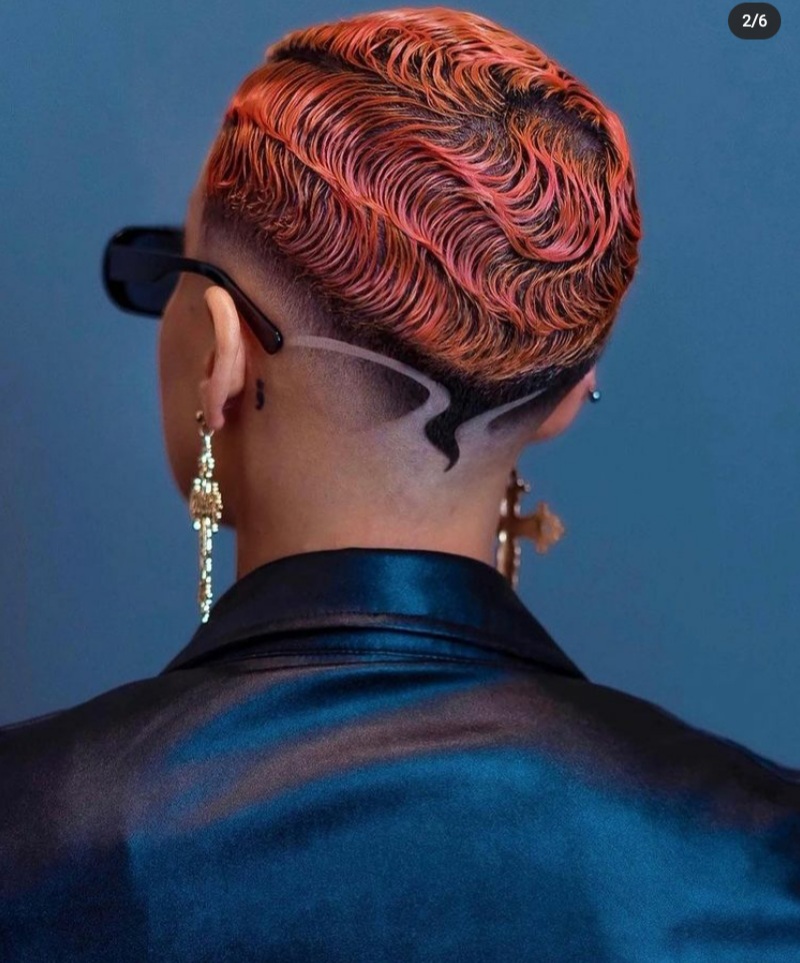
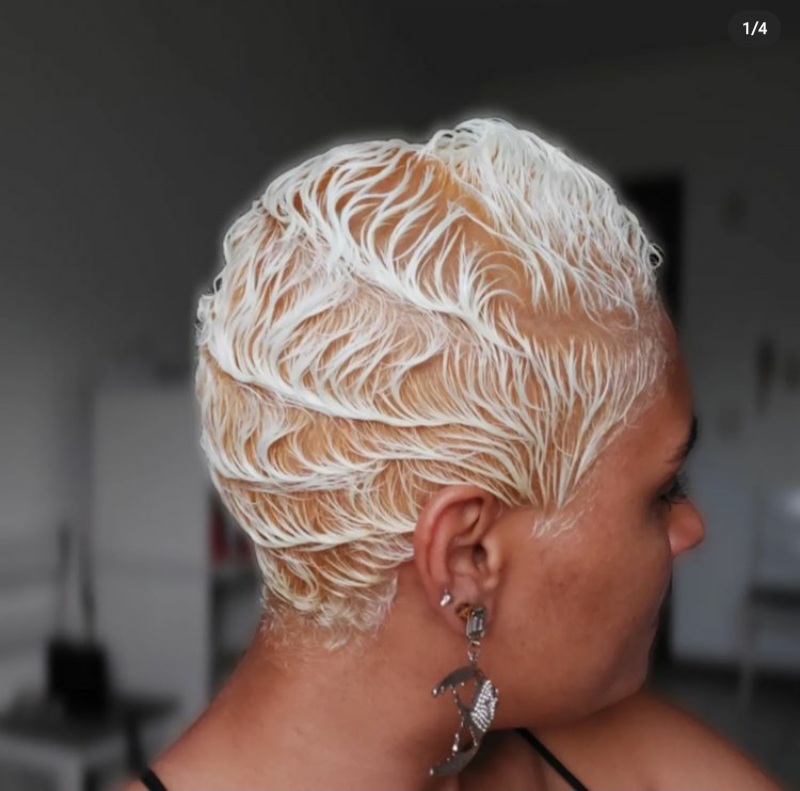
Coily or Textured Hair
Finger waves look stunning on coily and textured hair, particularly on short natural cuts and tapered styles. Because coily hair has more volume and shrinkage, extra smoothing and product may be necessary.
Work in small sections to ensure even distribution of gel. Use a firm brush or fine-tooth comb to smooth the hair close to the scalp before forming waves. Patience is key. Take your time sculpting each ridge clearly.
For very textured hair, you may choose to slightly stretch or blow-dry the hair first for a sleeker finish. However, this step is optional. Many people prefer to embrace their natural texture within the wave pattern for a modern twist.
Related Posts


Adjustments for Hold and Definition
Different textures require different levels of hold. If your waves fall flat, you may need a stronger gel or more setting time. If your hair feels crunchy or flaky, try reducing the amount of product or switching to a lighter formula.
Humidity can also affect finger waves. In damp conditions, use an anti-humidity spray to maintain sleekness. Sleeping with a satin or silk scarf helps preserve the style overnight.
How to Maintain Finger Waves
Proper maintenance can extend the life of your finger waves for several days.
At night, wrap your hair with a silk or satin scarf to prevent friction and frizz. Avoid heavy sweating or exposure to moisture, as water can soften the gel and disrupt the wave pattern.
In the morning, gently smooth any flyaways with a small amount of styling product. Avoid combing through the waves, as this will undo the sculpted shape.
If parts of the style lose definition, you can lightly dampen and reshape specific sections rather than redoing the entire head.
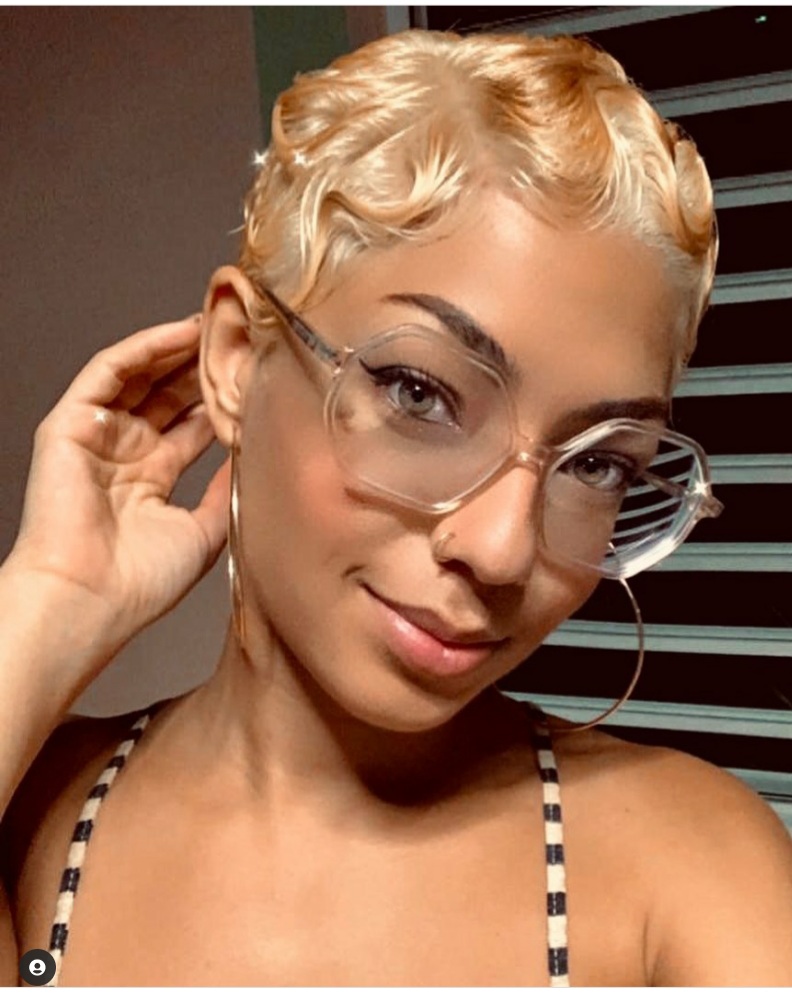
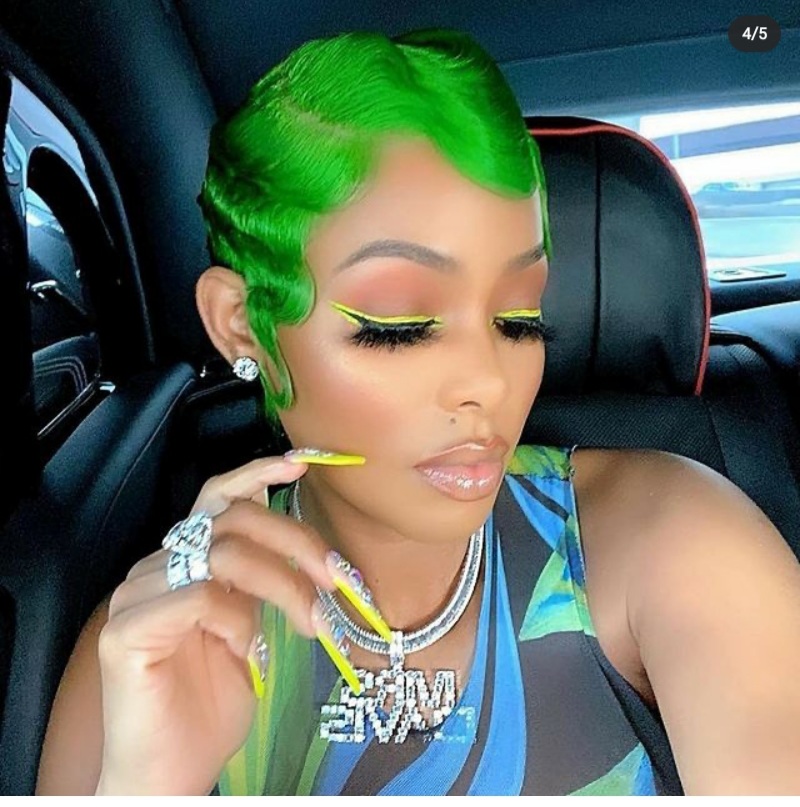
Why Finger Waves Are Worth Trying
Short hair does not have to limit your styling options. In fact, it can open the door to bold and creative looks that might not stand out on longer lengths. Finger waves offer a perfect blend of vintage charm and modern sophistication. They celebrate facial features, highlight bone structure, and create a sleek, refined finish.
Whether you have straight, wavy, curly, or coily hair, finger waves can be customised to suit your texture and personal style. With the right products, preparation, and a little patience, you can master this iconic look and transform your short hair into a true statement of elegance.
Short hair is not a limitation. It is an opportunity. And finger waves are one of the most beautiful ways to embrace it.