

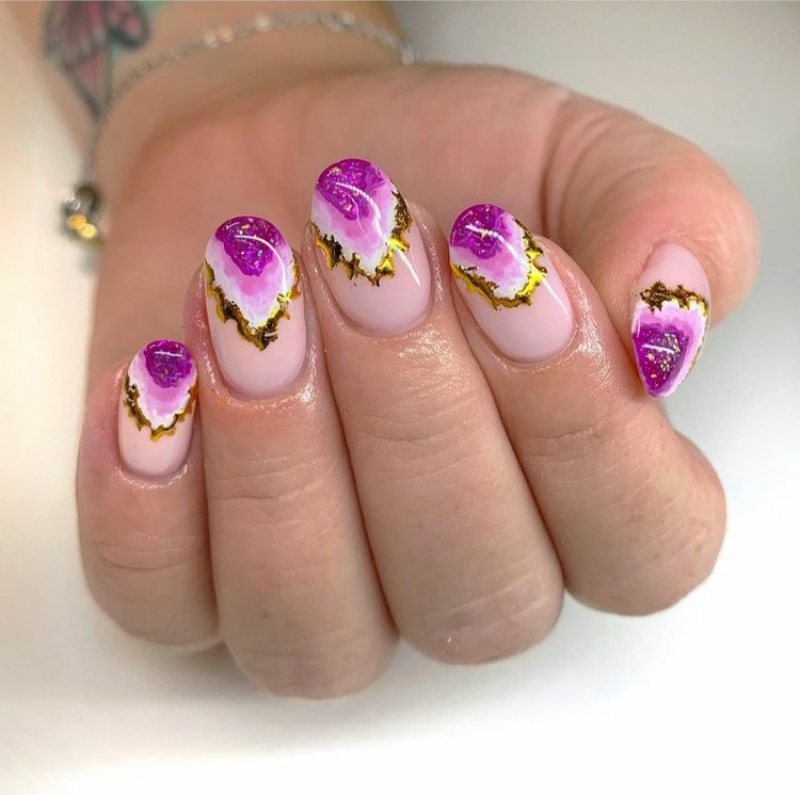
Agate nails may look like a complicated design, but they’re actually easier to create than you might think and you can totally achieve this look at home.
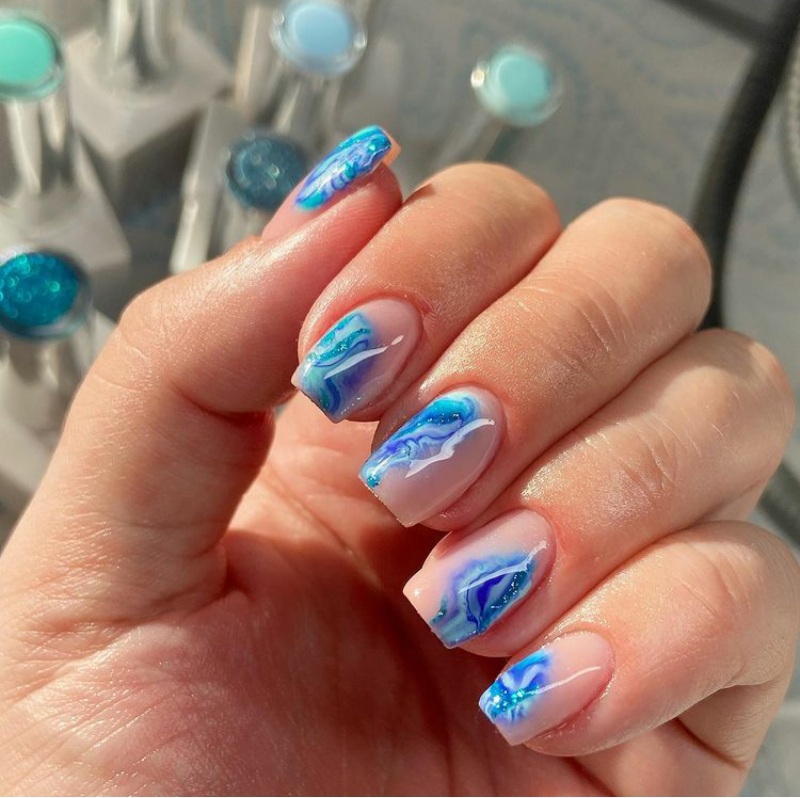
Agate nails have become one of the most stunning and eye-catching nail trends in the beauty space. Inspired by natural gemstones, this design mimics the layered, marble-like effect seen in real agate stones, creating a soft, blended look that feels both elegant and artistic.
What makes agate nails even more appealing is how versatile they are. You can go for neutral tones for a subtle everyday look or experiment with bold colors and metallic accents for something more dramatic. Whether you’re heading to a special event or just want to elevate your everyday manicure, agate nails are a beautiful option worth trying.
The best part is that despite how intricate they look, you don’t need to be a professional nail artist to achieve them. With the right tools and a bit of patience, you can recreate this look right at home.
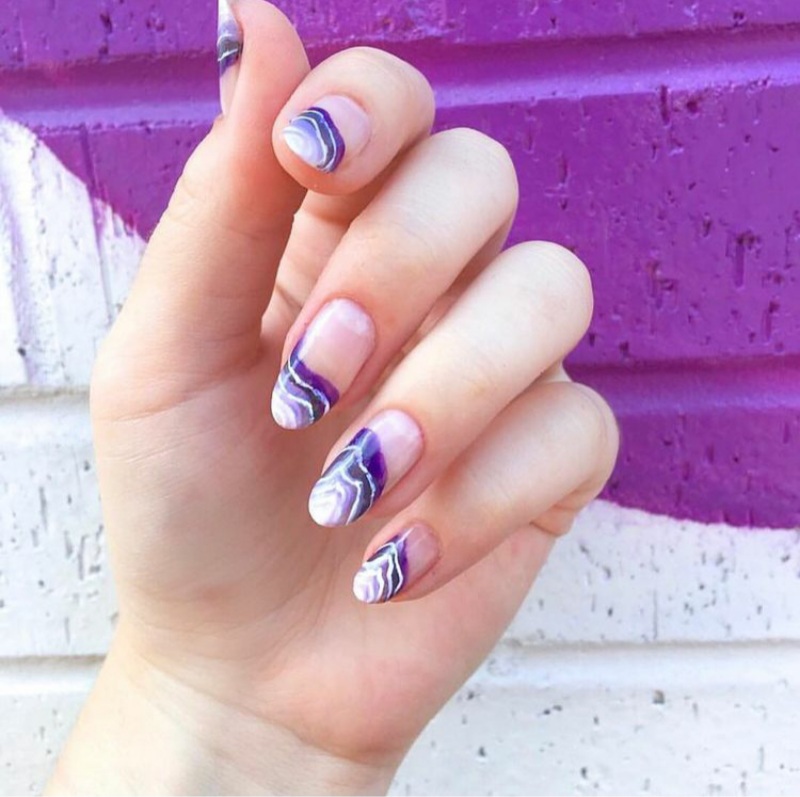
Why Agate Nails Are So Popular
Agate nails have taken over the nail art world for a reason. They combine simplicity with luxury, giving you a high-end look without requiring complicated techniques.
One of the main reasons people love agate nails is because of their uniqueness. No two designs ever look exactly the same, which makes your manicure feel personal and one of a kind. The soft blending of colors creates a natural stone effect that looks effortlessly chic.
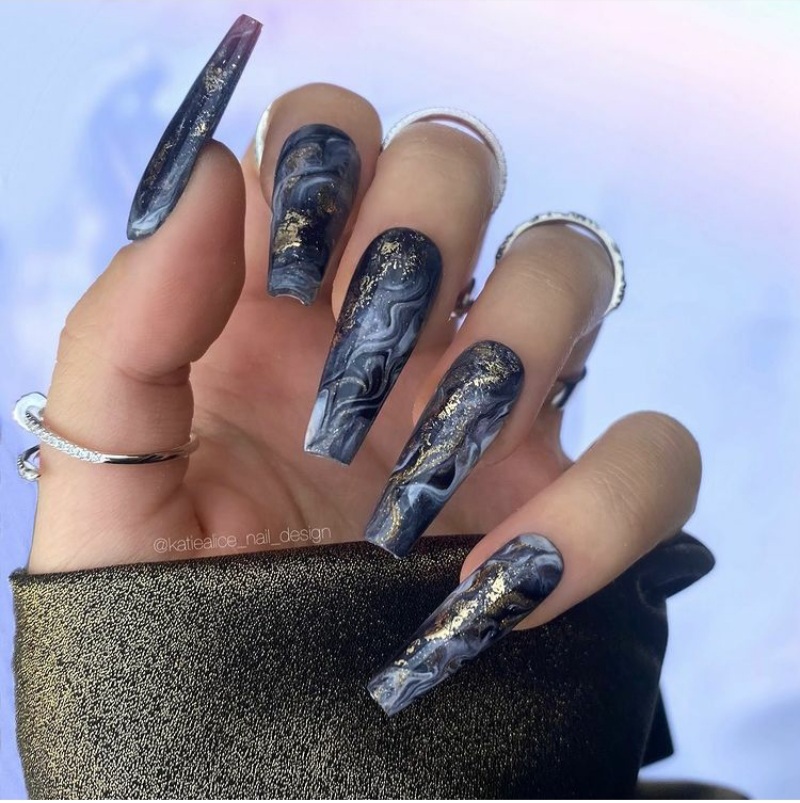
Another reason for their popularity is how well they suit different occasions. A neutral agate nail design works perfectly for everyday wear, while darker tones or gold accents can easily transition into evening or event-ready styles.
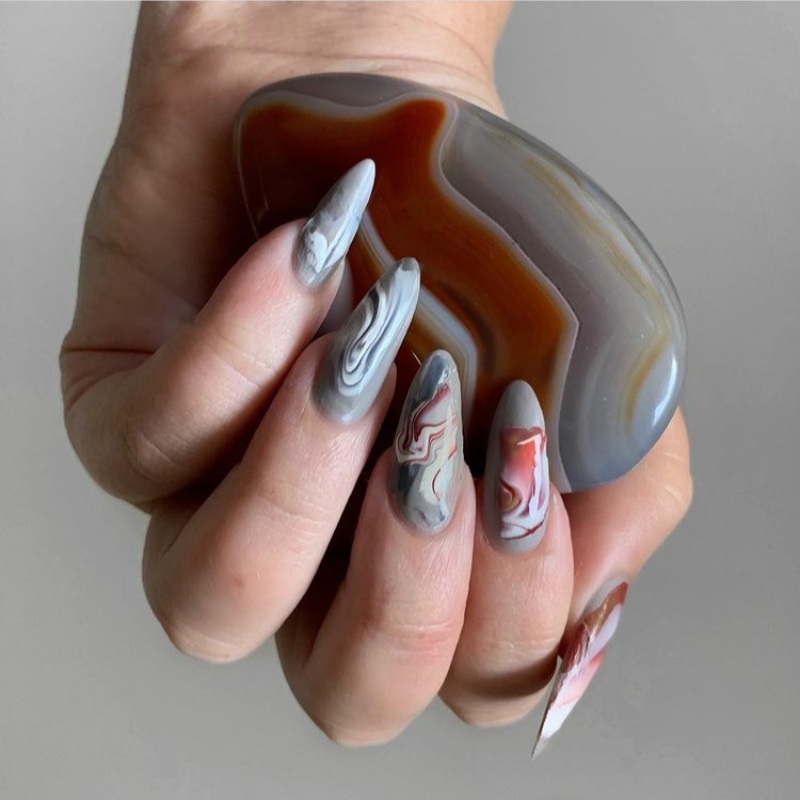
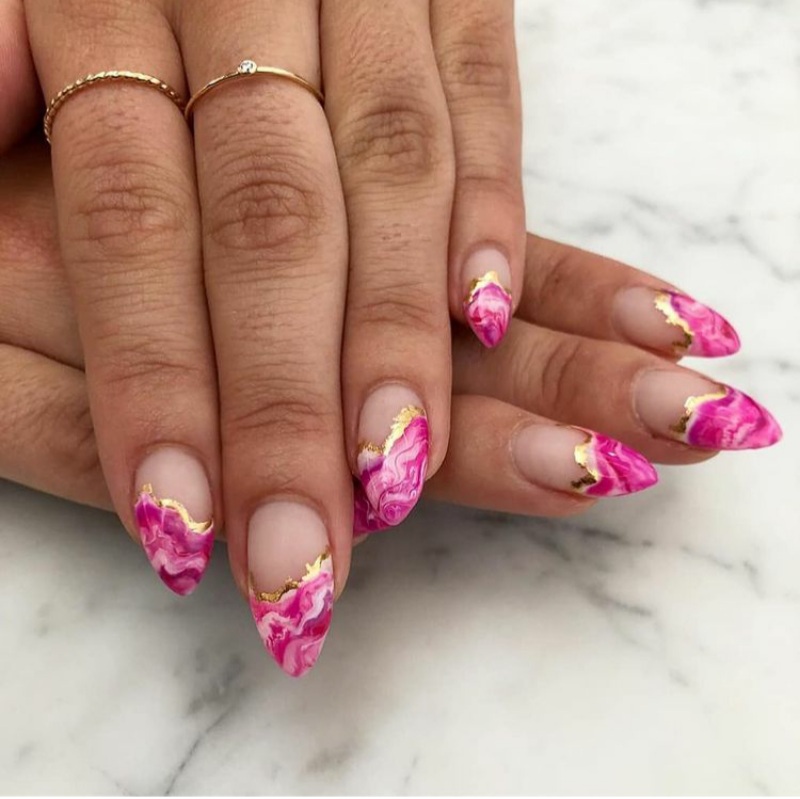
How to do agate nails
Tools
- Gel nail polish in different shades
- Gel top coat
- Synthetic flat brush
- Dotting tool
- Gold foil or gold flecks
- UV lamp
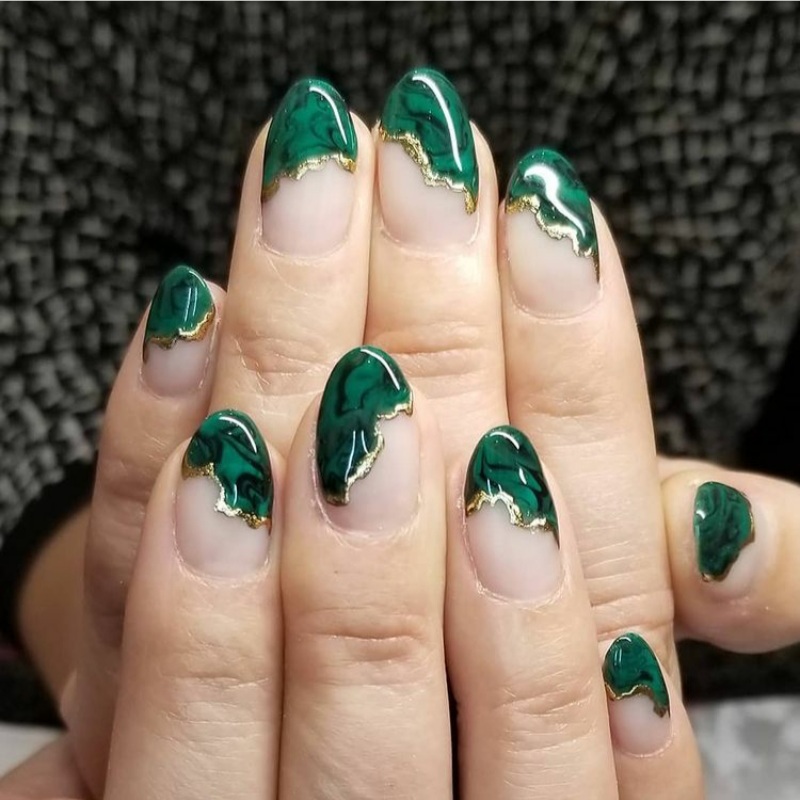
When choosing your gel nail polishes, it’s best to select shades that complement each other. Soft nudes, whites, greys, and blush tones create a classic agate look, while deeper colors like emerald, navy, or burgundy give a more dramatic and luxurious finish.
Using a synthetic flat brush helps you blend the colors seamlessly, which is key to achieving that signature agate effect. The dotting tool and gold foil are what bring the design to life, adding the fine detailing that makes the nails look like real gemstones.
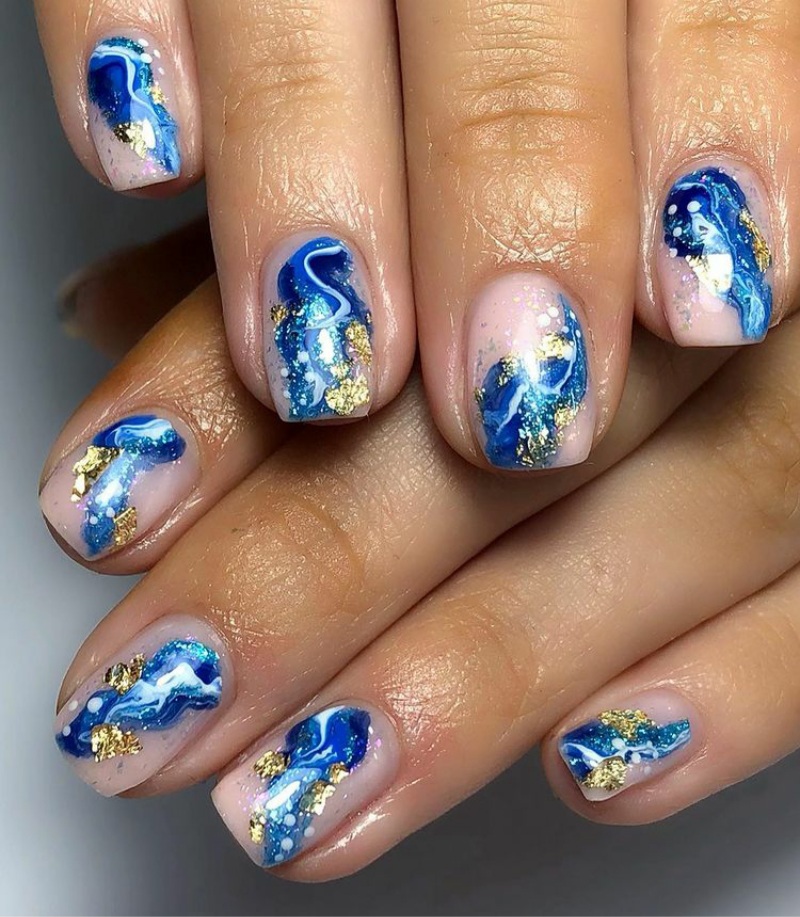
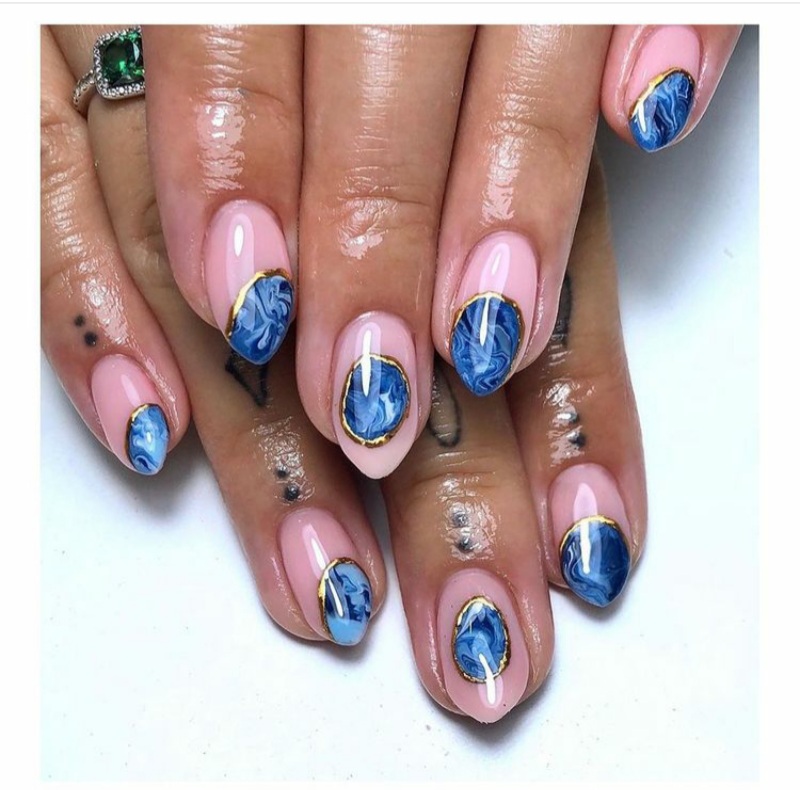
Directions
To begin, apply your base coat and let it dry. Before applying your base coat, make sure your nails are clean, filed, and shaped to your preference. A smooth base makes a big difference in how your final design looks.
Then apply the gel nail polish color that you would prefer to be your base and let it cure.
When transferring the polish onto your nails, avoid over-blending. The beauty of agate nails comes from the imperfect, natural pattern, so don’t worry about making everything perfectly even.
Now take a piece of foil or even plastic and layout your gel nail polishes on it in an irregular ribbon pattern. Use different nail polish colors as you would like.
Now, with your flat brush, pick the colors from the foil and transfer them to your nails.
Once you have your desired nail design, let it cure.
Now using your dotting tool, pick some gold glitter polish and draw a line at the edge of the agate to give it a nice bold border.
If you find the design too bold at first, you can lightly blur the colors with your brush to soften the look and create a more subtle finish.
Then pick up tiny pieces of the gold flecks and place them where the center of the agate would be and press them firmly so they stick.
Apply a layer or UV top coat and cure for 60 seconds.
Tips for the Perfect Agate Nails
Creating agate nails at home can be simple, but a few small tips can make a big difference in the final result.
First, always work in thin layers. Applying too much gel polish at once can make the design look messy instead of blended. Thin layers allow you to build the look gradually and maintain control.
Second, don’t rush the curing process. Make sure each layer is properly cured before adding the next step to prevent smudging or uneven textures.
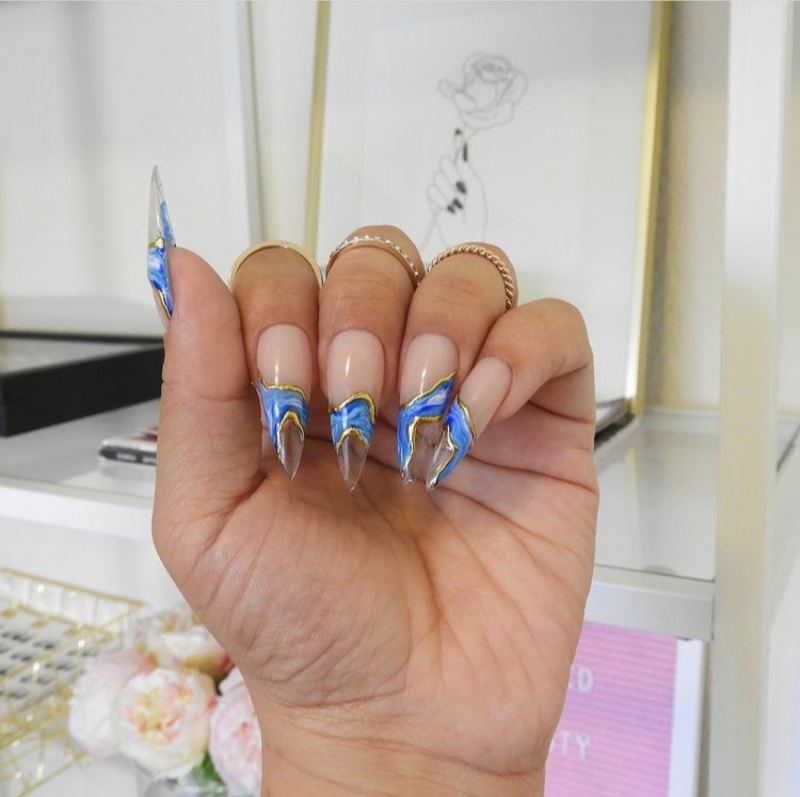
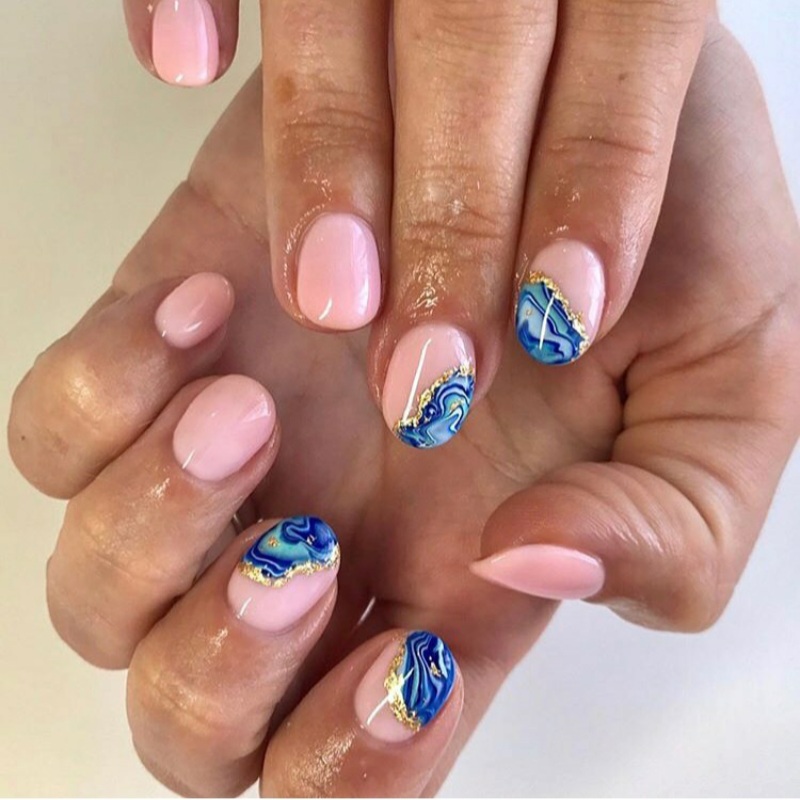
Lastly, experiment with placement. Agate designs don’t have to cover the entire nail. You can create a half-nail design, accent nail, or even mix it with other nail trends for a more creative look.
Related Posts




Agate Nail Design Ideas
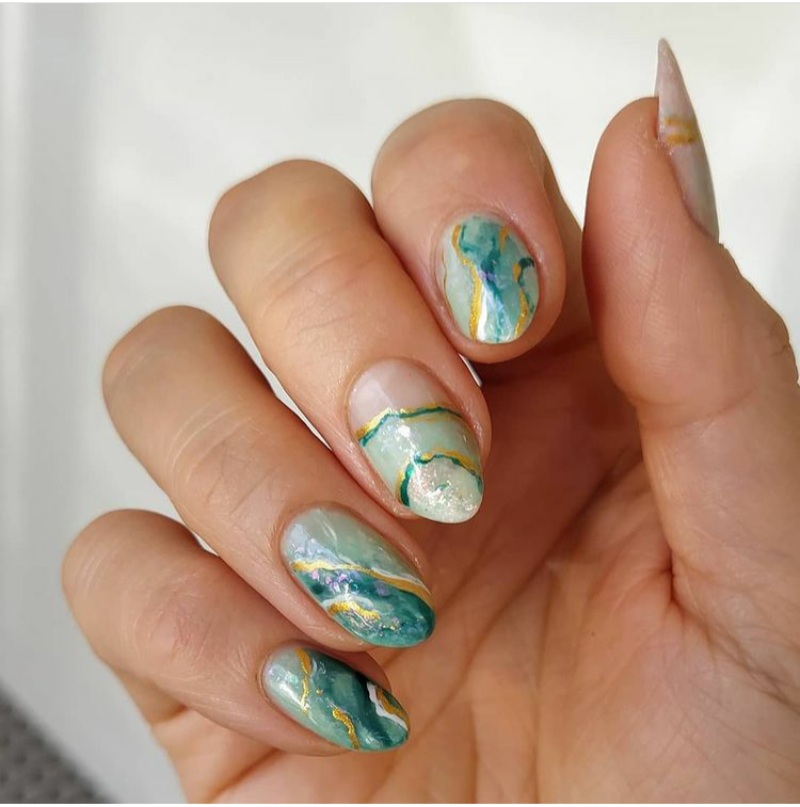
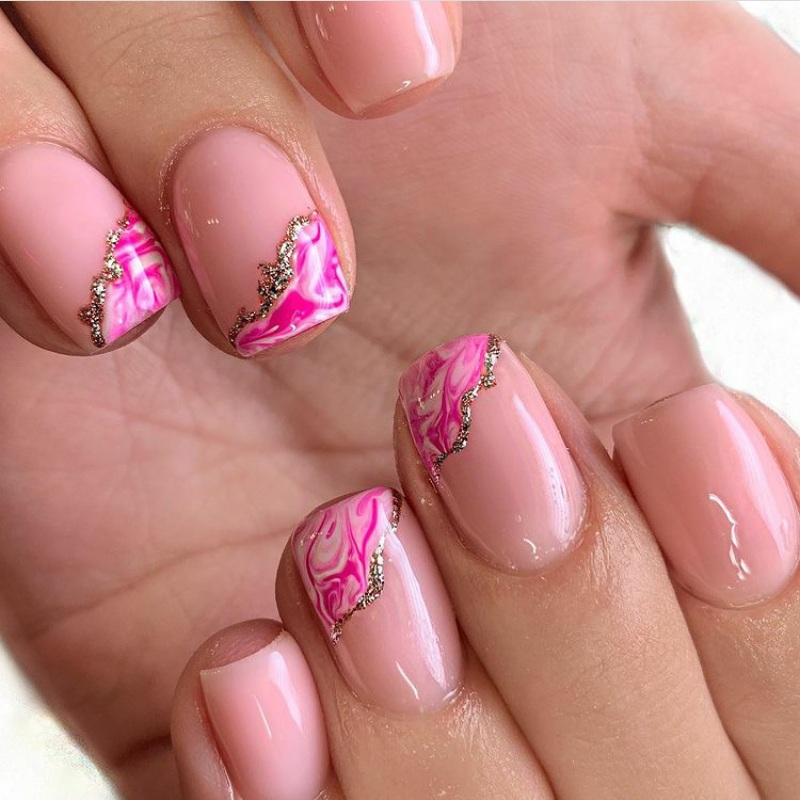
There are countless ways to personalise your agate nails depending on your style and mood. If you prefer a soft and minimal look, go for neutral tones like white, beige, or light pink with subtle gold detailing.
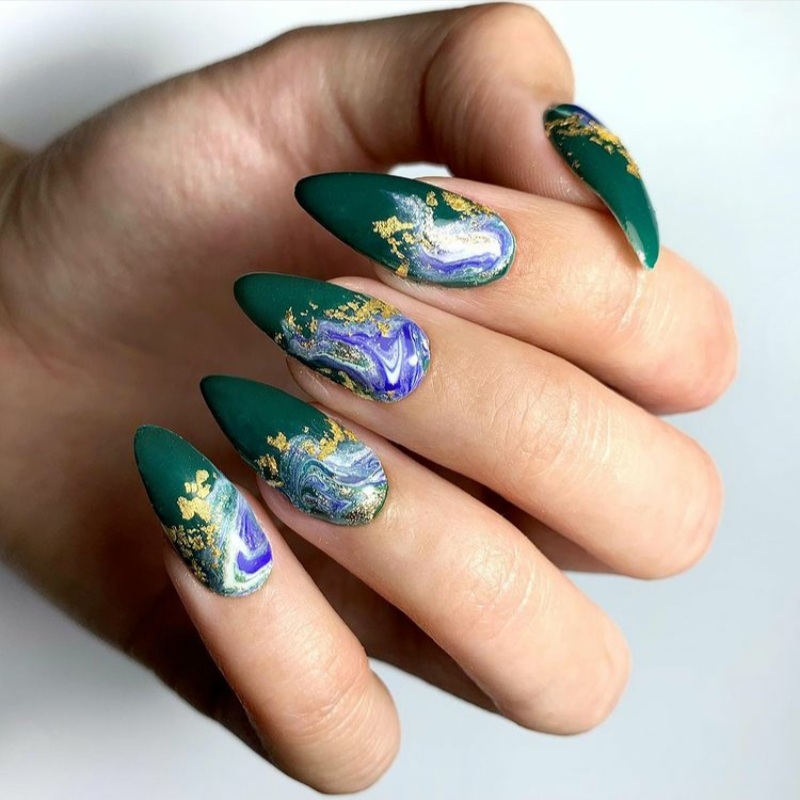
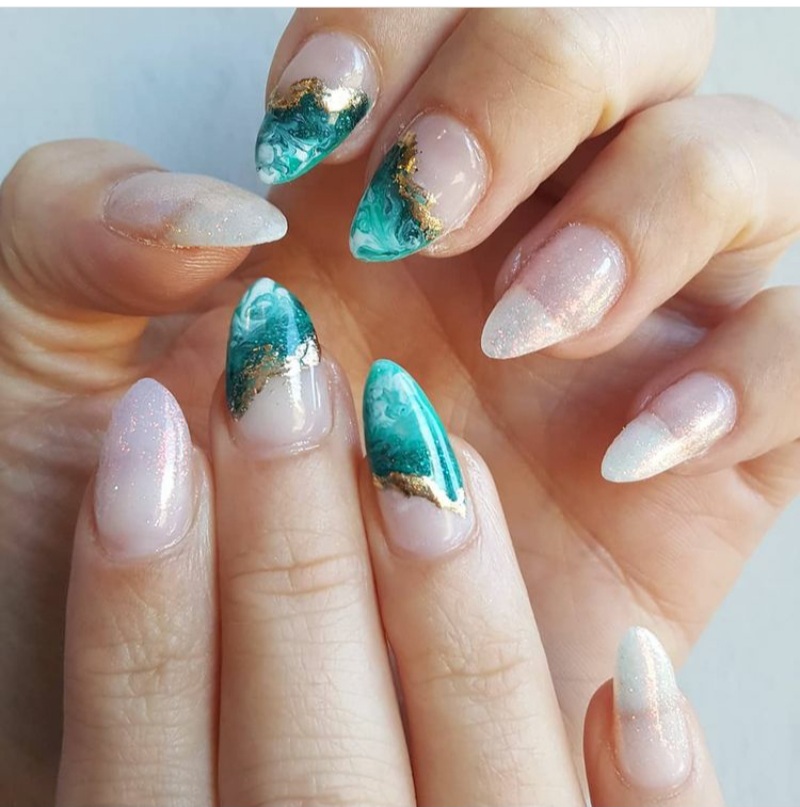
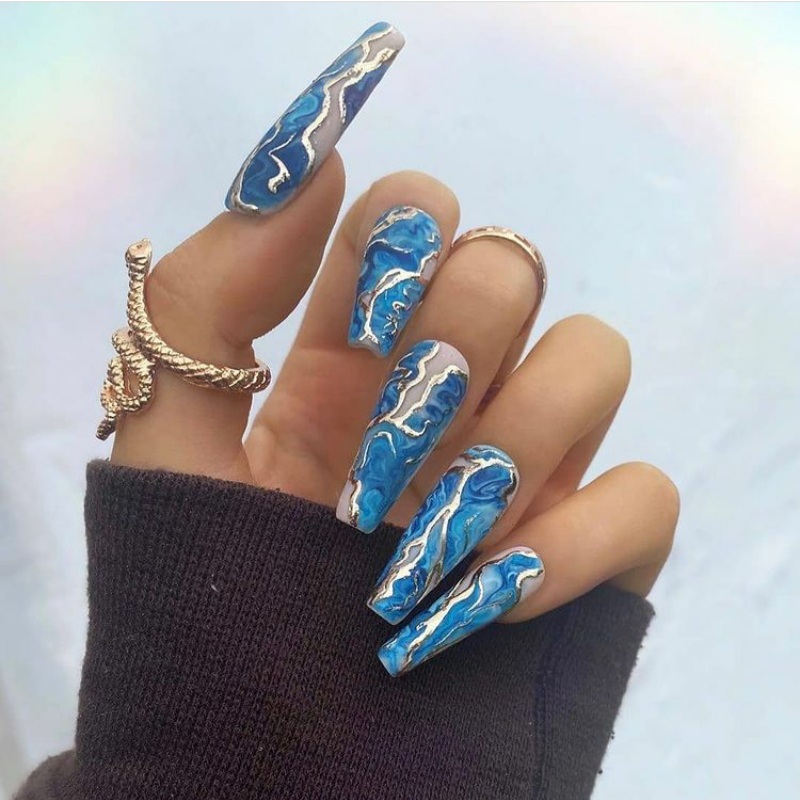
For a bolder look, try darker shades like deep green, navy blue, or black with metallic accents. These colours create a more dramatic and luxurious effect that stands out beautifully.
You can also mix agate nails with other designs like French tips, glitter accents, or matte finishes to make your manicure even more unique.
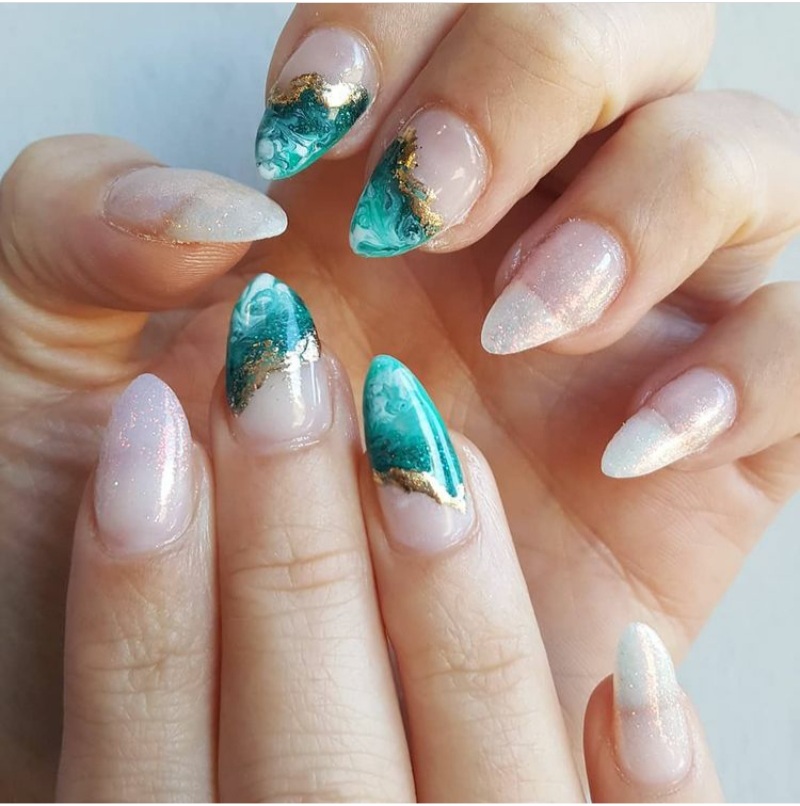
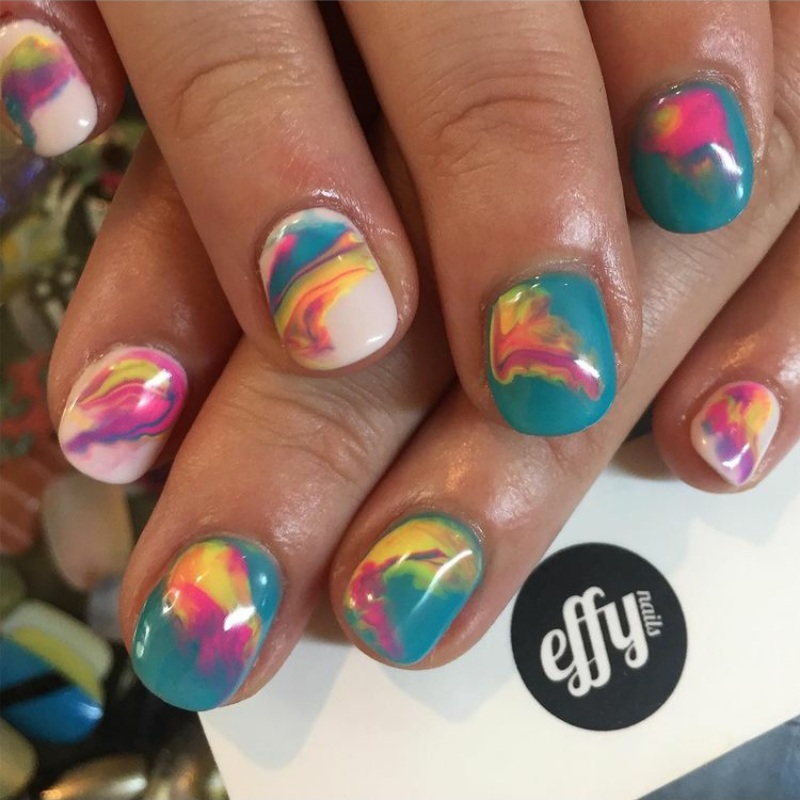
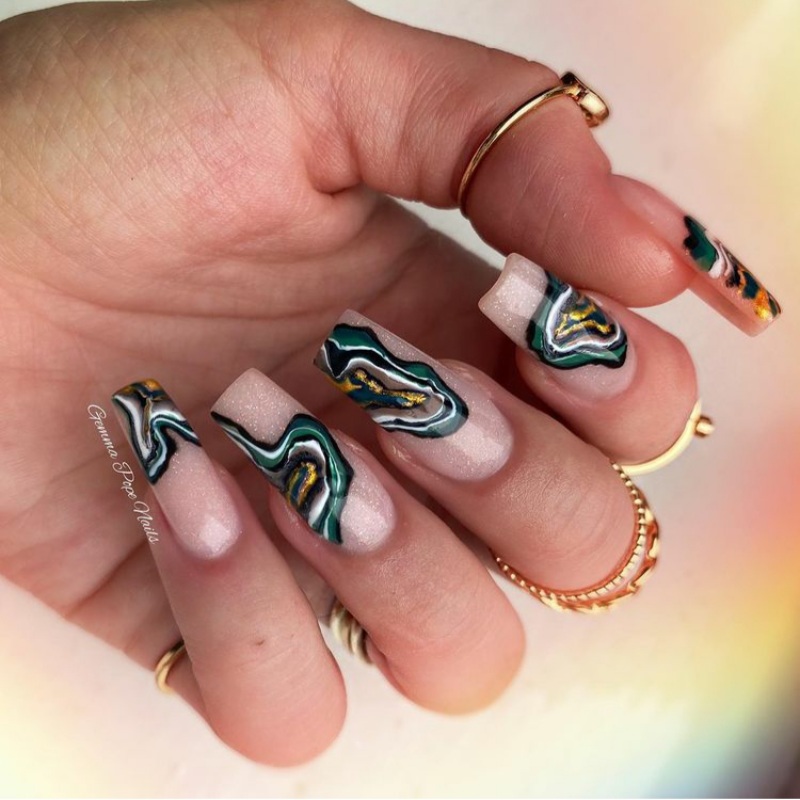
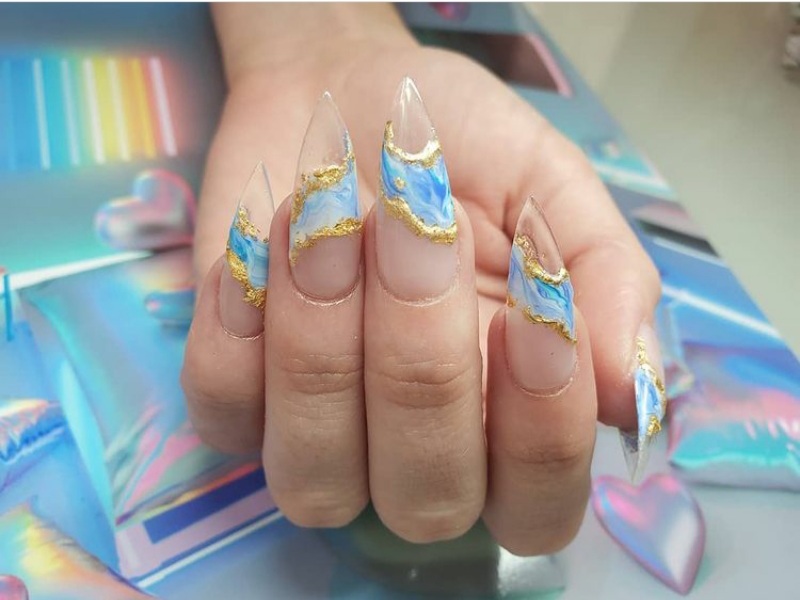
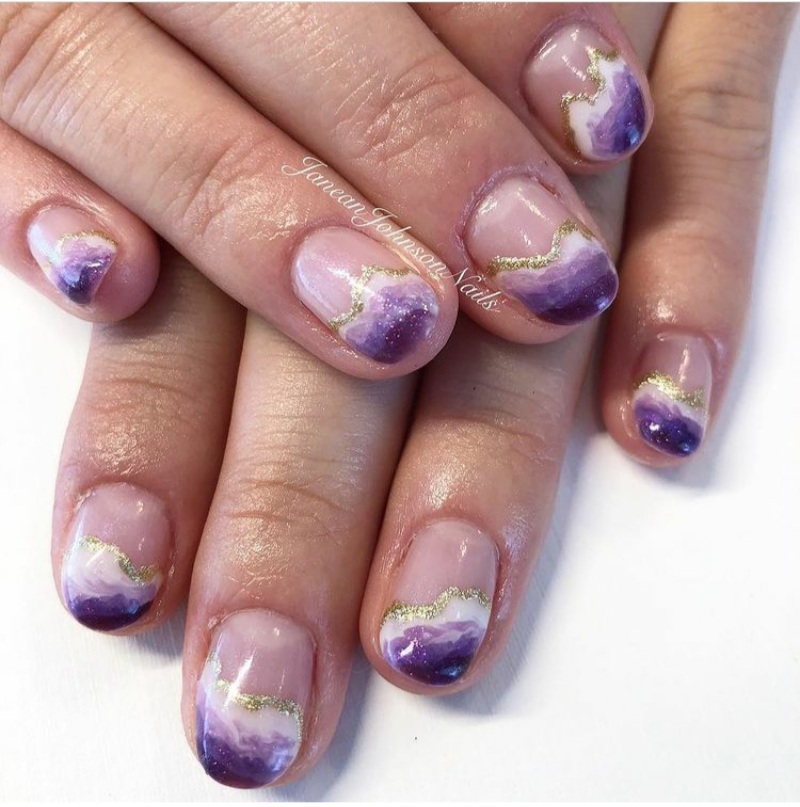
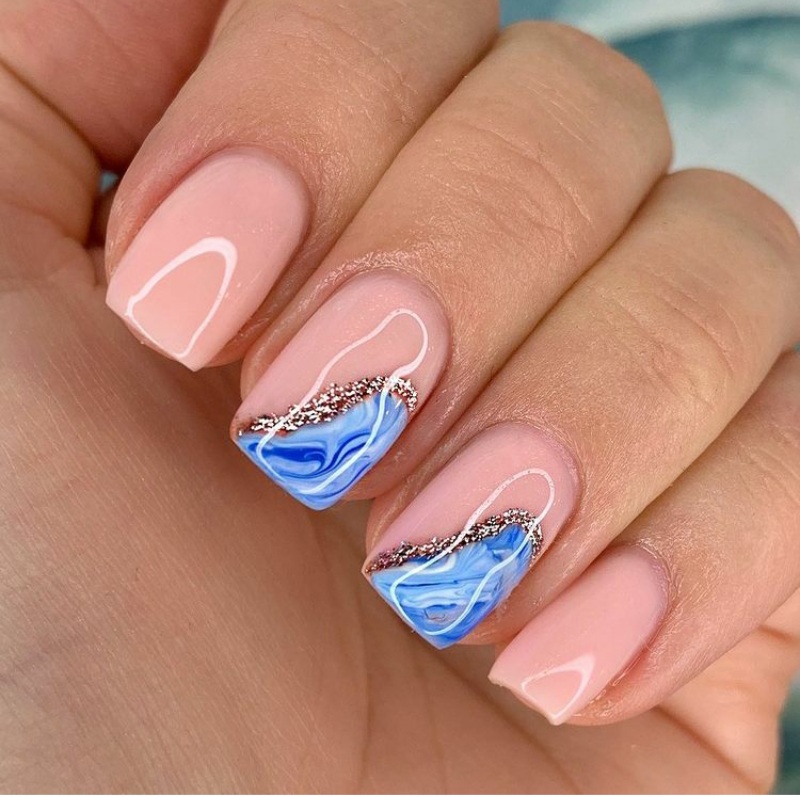
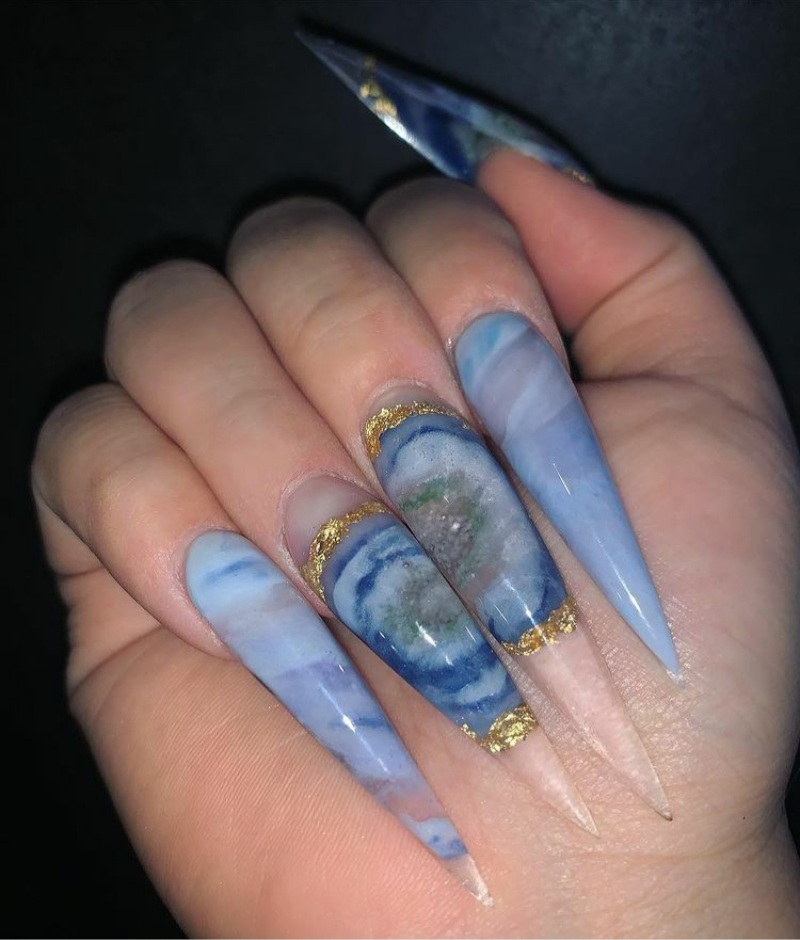
Agate nails are a perfect blend of elegance and creativity, giving you a salon-worthy look without too much effort. Whether you prefer something subtle or more bold and eye-catching, this design can easily be customised to suit your style.
With the right tools and a little practice, you can achieve this beautiful gemstone-inspired look right at home. Don’t be afraid to experiment with different colours and techniques—you might just create your new favourite manicure.

