

After spending time applying nail polish and making your nails look beautiful, it can be frustrating to see chips and wear appear just a day or two later. Fortunately, there’s no need to worry! This article is here to provide you with essential tips and tricks to make your nail polish last longer.
With the right techniques and products, you can enjoy a stunning manicure that remains intact, keeping your nails looking fabulous for days on end. From prep to application and finishing touches, we’ll cover everything you need to know to extend the life of your polish and maintain that fresh, polished appearance.
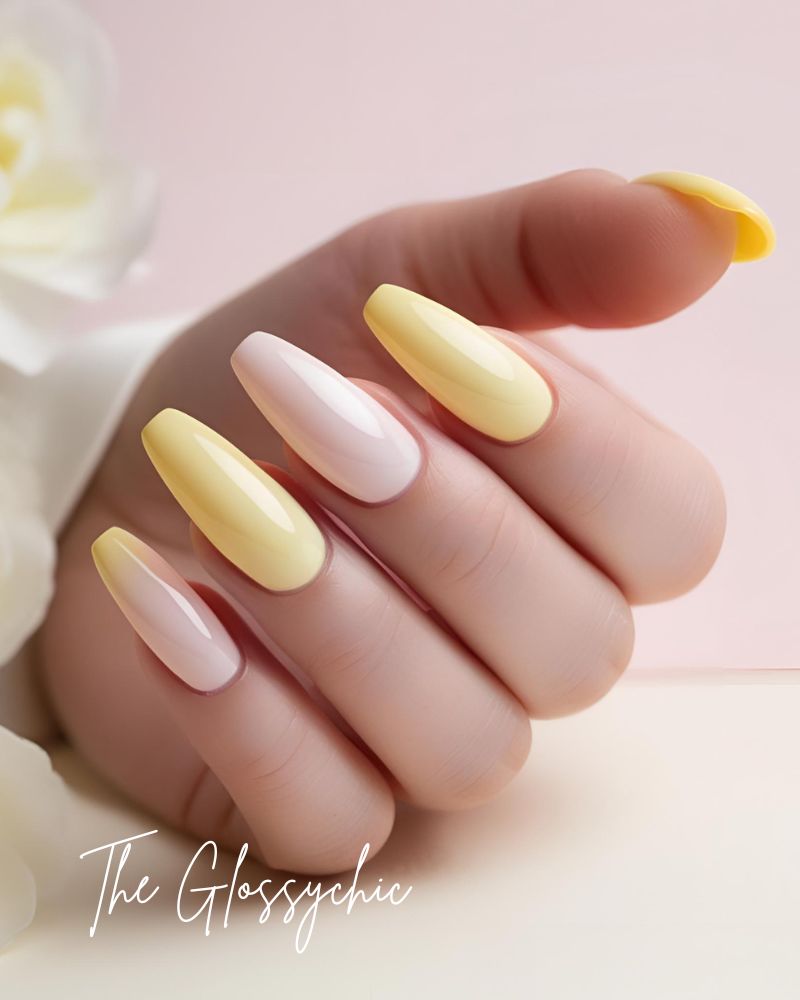
6 steps to get nail polish to last longer
Step 1: File Your Nails
To start, file your nails to create a neat, even shape, which helps polish apply smoothly and last longer. Filing is an important step because it removes any rough edges and creates a uniform surface.
When filing, always move in one direction rather than using a back-and-forth motion. This method reduces the risk of splitting and keeps nails from becoming weakened or uneven.
A back-and-forth filing action can cause small tears in the nail, which weakens the edges and may lead to breakage or chipping later. Use a fine-grit nail file, which is gentler on the nails and ideal for achieving a smooth edge. Taking this extra bit of care when filing sets a strong foundation for a flawless, long-lasting manicure.
Step 2: Clean Your Nails
To prepare your nails, dip a cotton ball in white vinegar or nail polish remover and gently wipe each nail. This removes any natural oils, dirt, or leftover residue, creating a clean surface for your polish. By thoroughly cleansing your nails, the polish will adhere better, reducing the likelihood of chipping and peeling.
After wiping, give your nails a few moments to dry completely. Applying polish on damp nails can affect how well it sets, so this step is essential for a smooth, long-lasting manicure. Proper nail prep makes all the difference for achieving a polished, professional finish.
Related Posts


Step 3: Apply a Base Coat
Applying a base coat prepares your nails by creating a smooth surface that grips the polish, helping it adhere better and reducing chipping. This essential step extends the life of your manicure, making it look fresh and vibrant for longer.
Step 4: Apply Thin Coats
Begin by applying a thin layer of nail polish. Don’t worry if the first coat appears light; you can build up the color gradually with additional thin coats. Layering polish in this way creates a smoother, longer-lasting finish and significantly reduces the risk of chipping.
Thick coats are more prone to peeling and can make the polish appear uneven, so taking time to apply thin, even layers will enhance both the durability and appearance of your manicure.

Step 5: Add a Topcoat While Wet
For a long-lasting finish, apply a topcoat directly over the wet polish. This seals in the color, enhances durability, and adds a glossy shine. The topcoat protects against chipping and keeps your manicure looking fresh and vibrant for longer, ensuring a professional, polished look.
Step 6: Let It Dry
Allow your nails to dry fully for 20–30 minutes. If you’re short on time, dip your fingers in ice-cold water to speed up the drying process. This quick trick helps set the polish, giving you a smudge-free finish faster!
Taking the time to properly prepare and apply your nail polish can result in a beautiful and long-lasting manicure. Remember to file your nails, clean them, apply a base coat, use thin layers of nail polish, apply a topcoat, and allow the polish to dry completely before moving on to the next step. By following these tips, you can achieve a perfect at-home manicure every time. Take a look at this article from Cote for more nail tips.
