

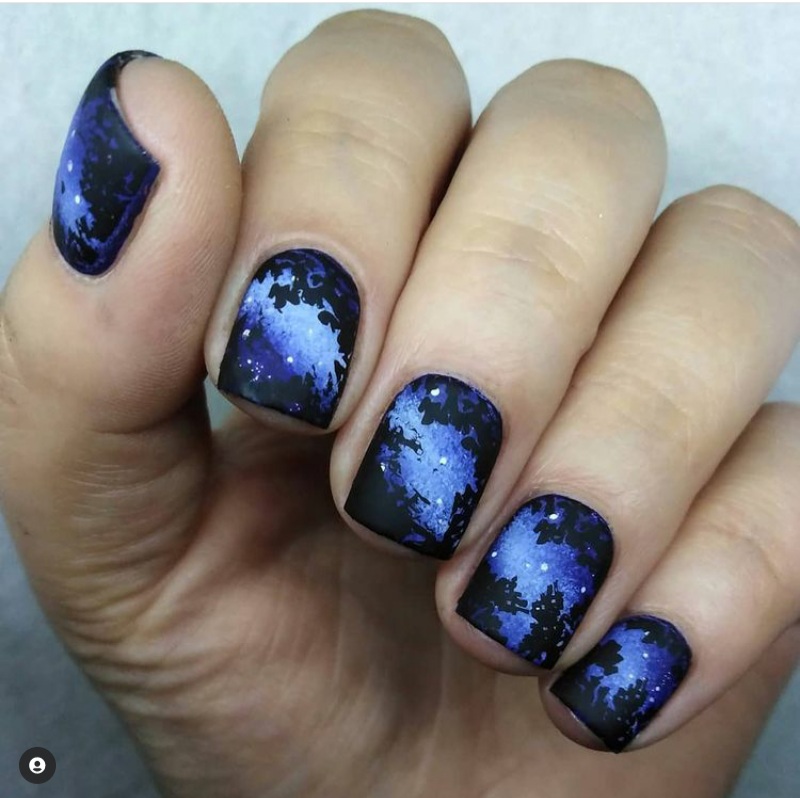
How would you feel if you could gaze at the twinkling stars, the glow of the moon, and the radiant light of the sun all at once, capturing the beauty of the entire universe? With galaxy nail designs, you can bring that magical feeling to life right at your fingertips. Galaxy nails have become one of the most popular nail art trends, with many women embracing their unique and eye-catching appeal.
Galaxy nails are a creative representation of outer space, blending colours and textures that mimic the beauty of the cosmos. Their rich, vibrant hues and sparkling details naturally draw attention and admiration. It’s no surprise that this stunning design continues to captivate people and inspire more and more to try it.
In This Article
What Are Galaxy Nails?
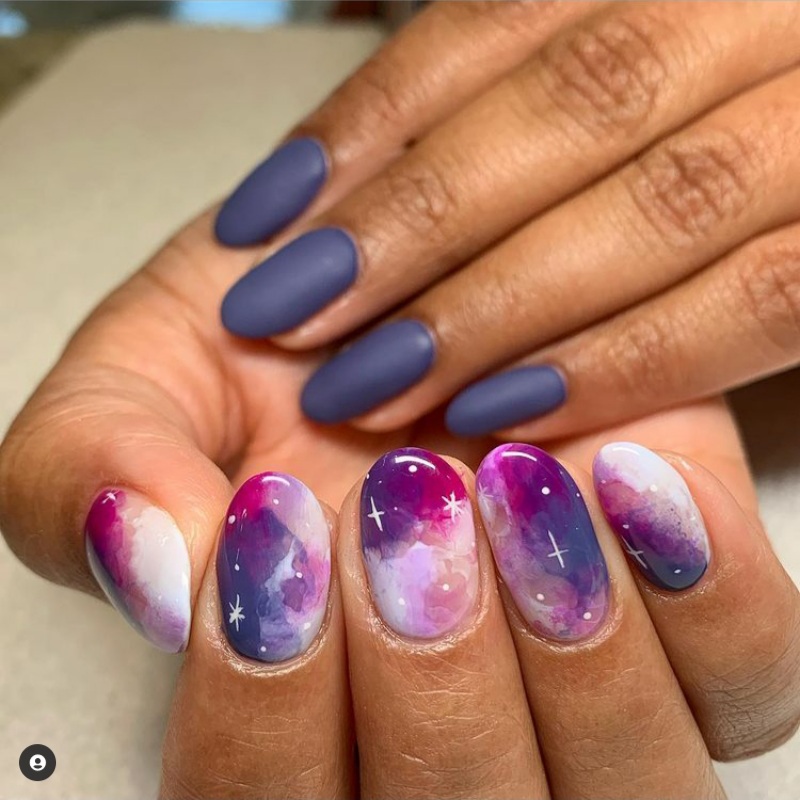
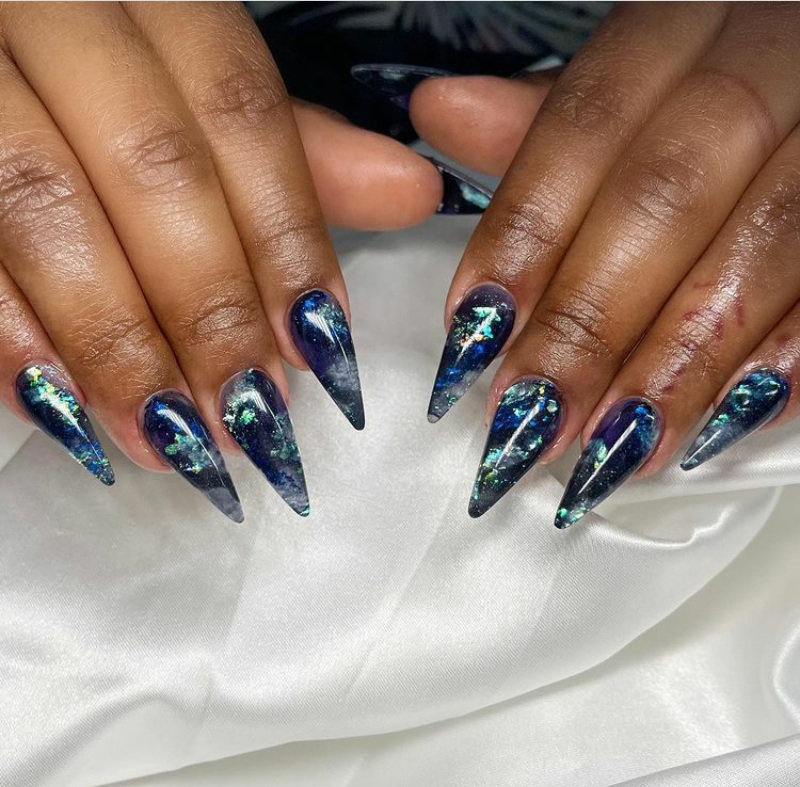
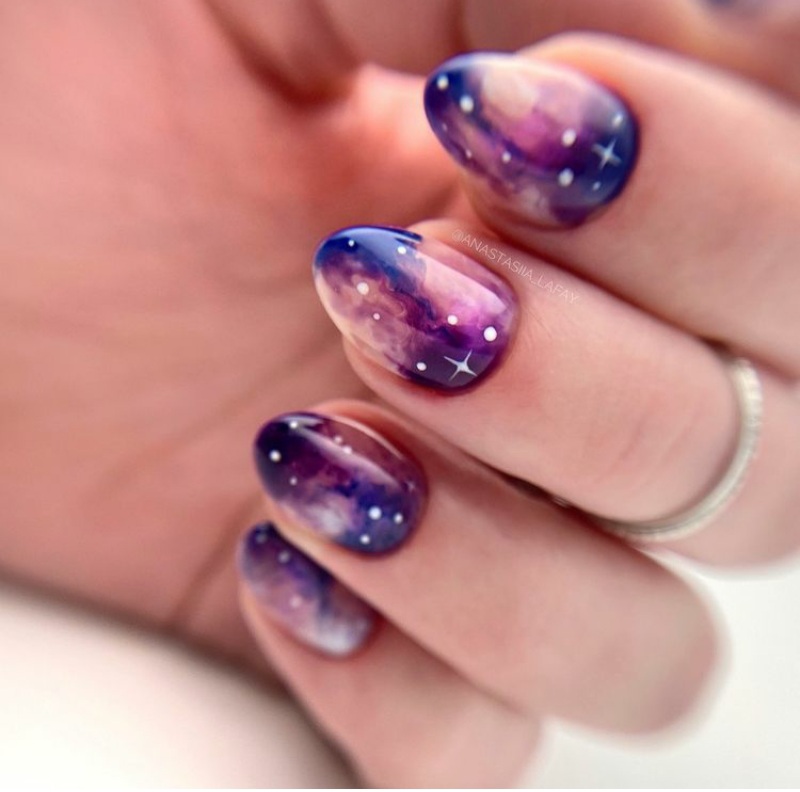
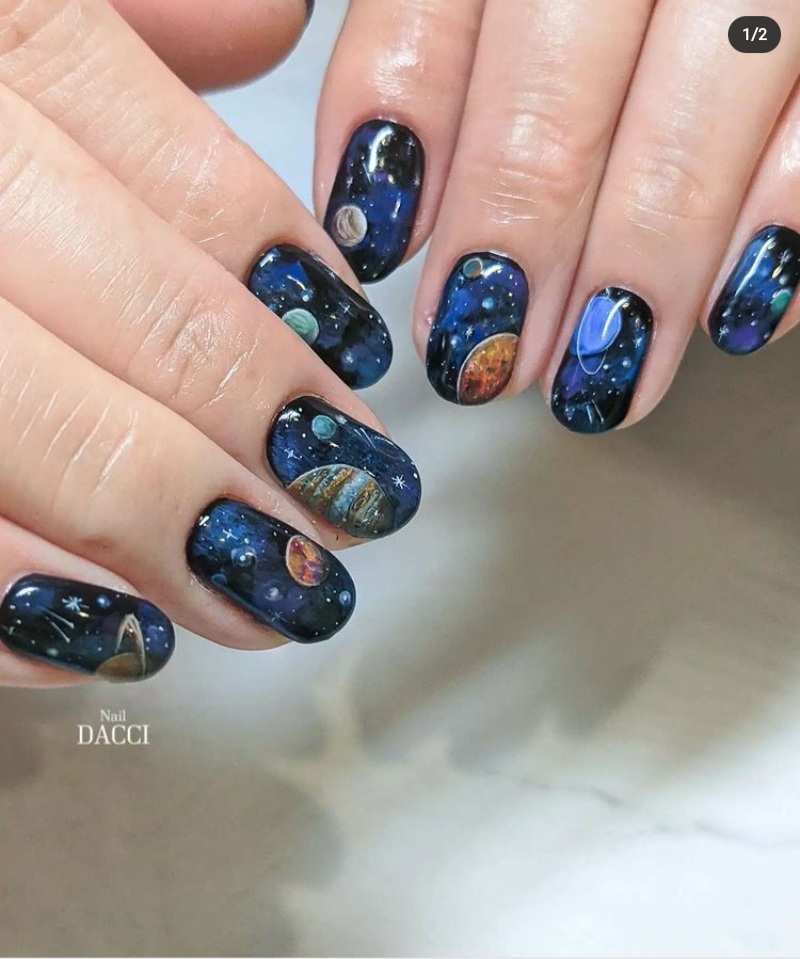
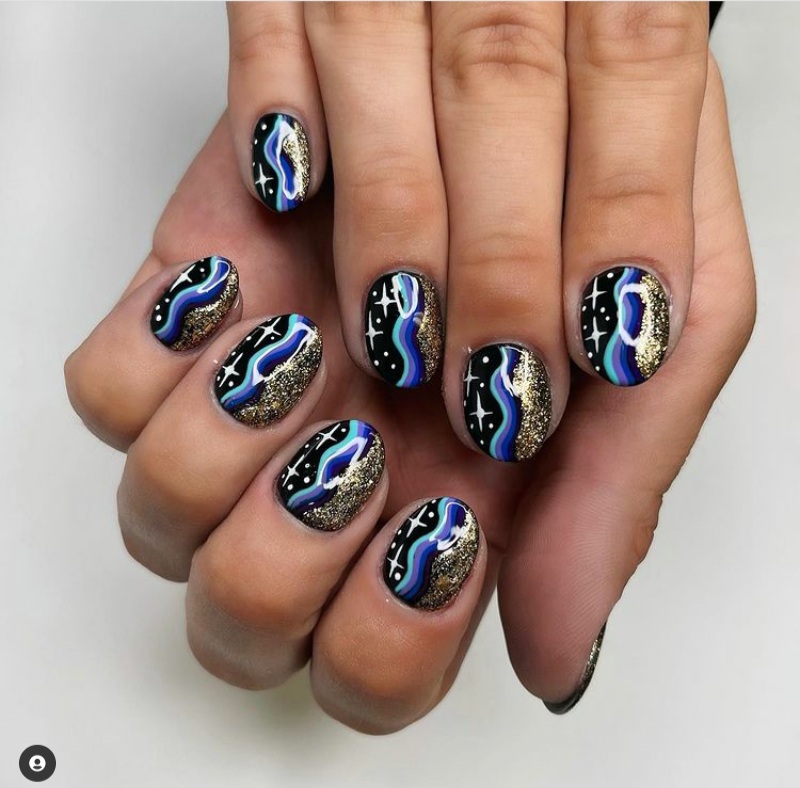
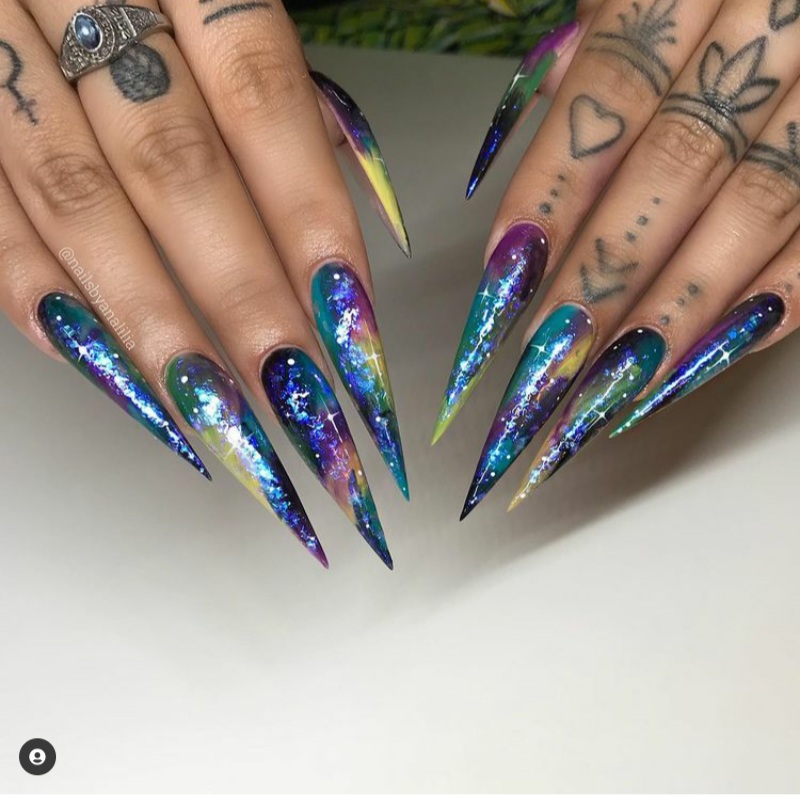
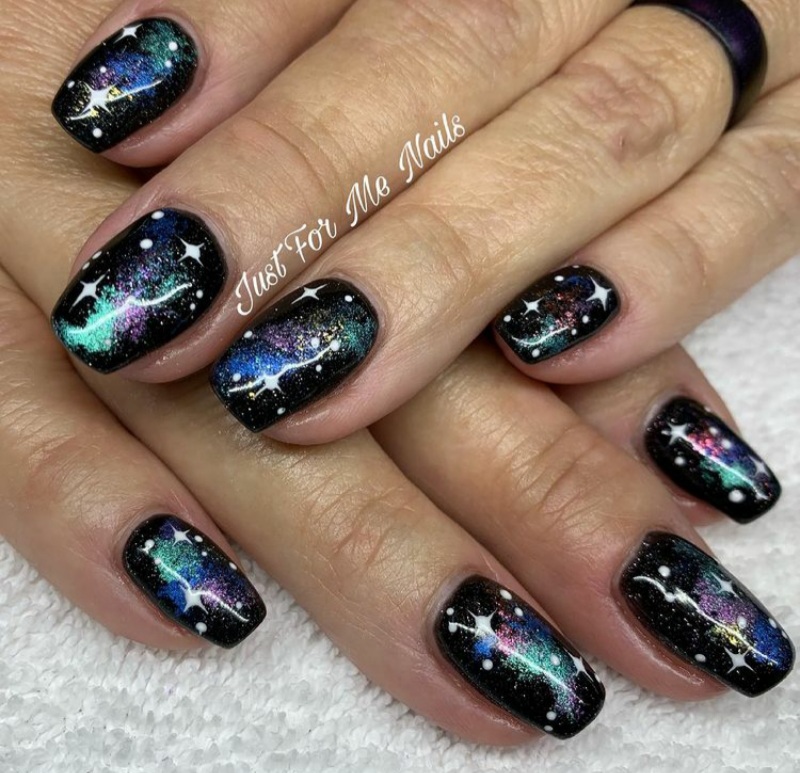
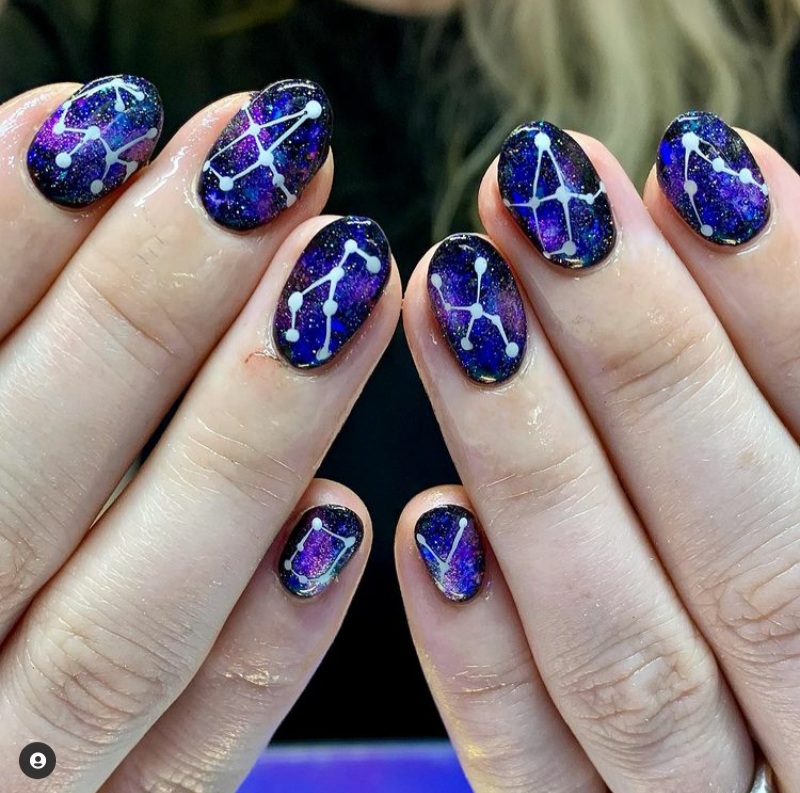
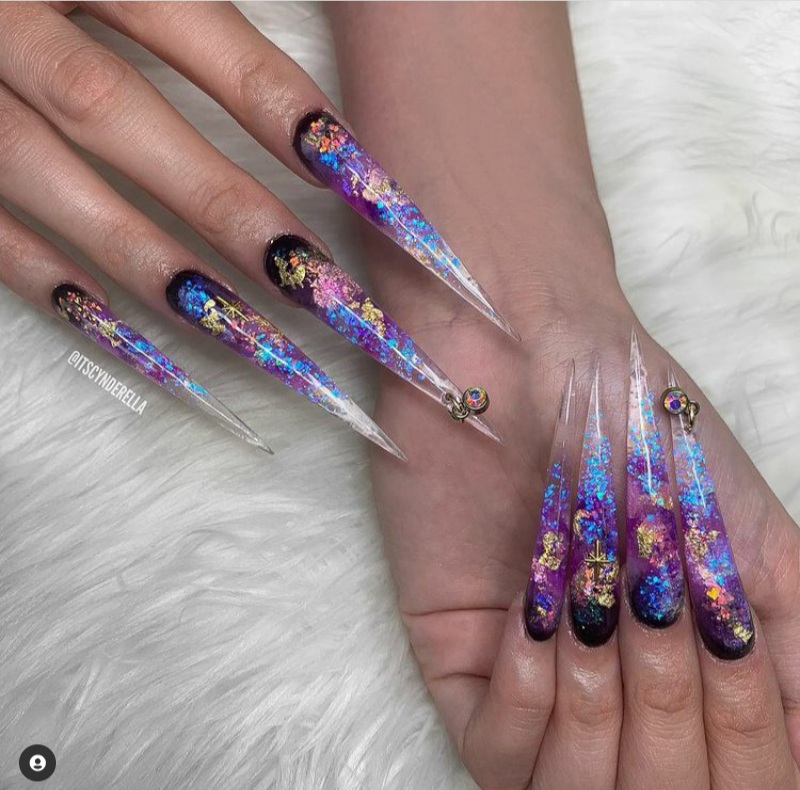
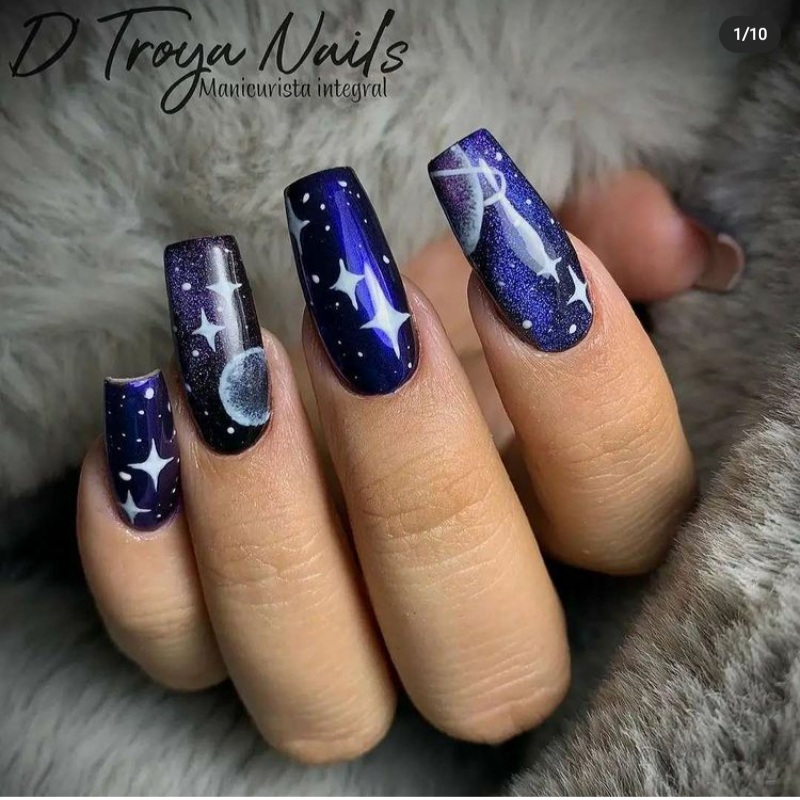
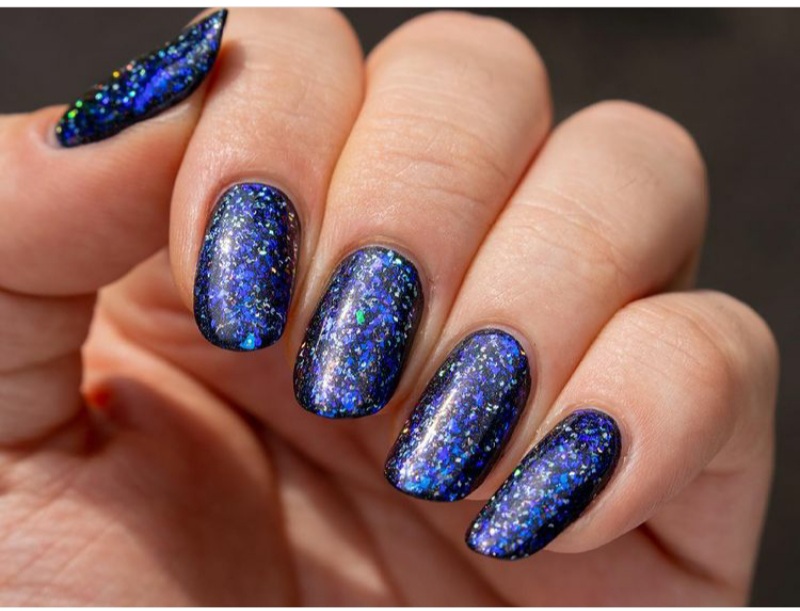
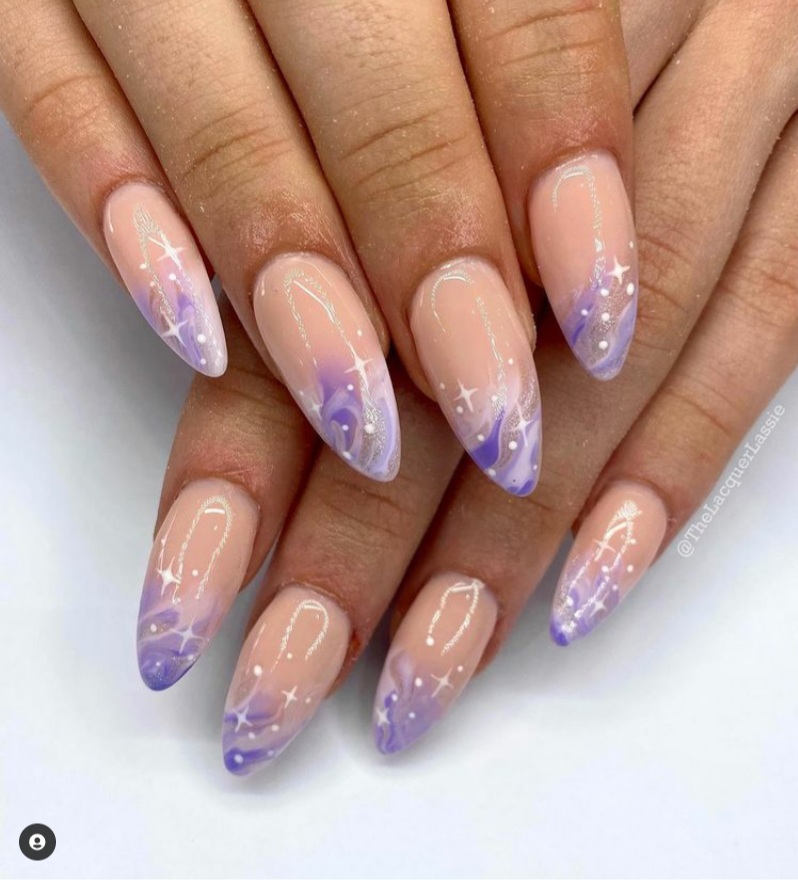
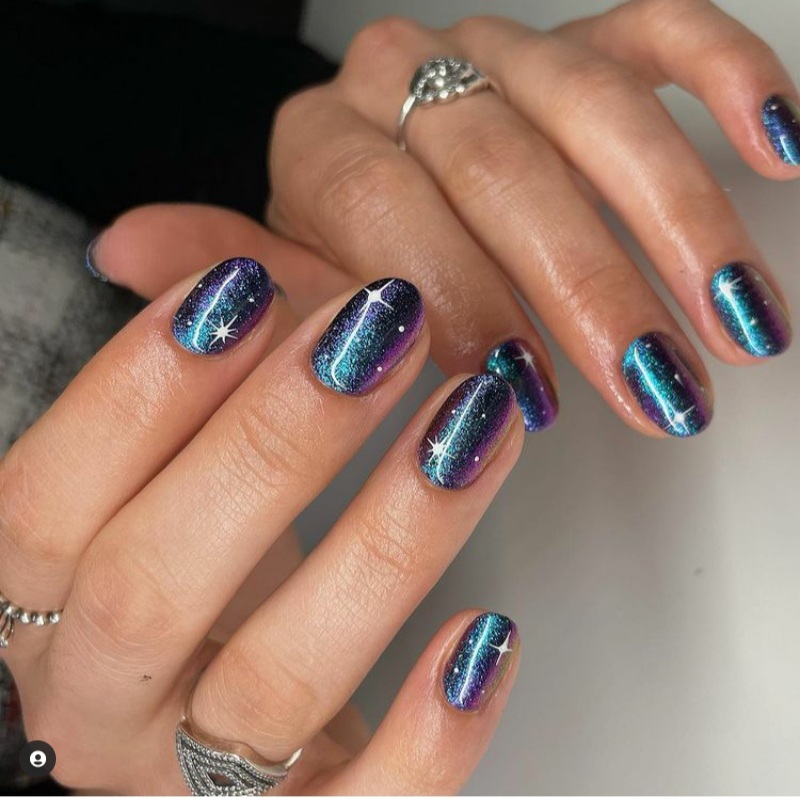
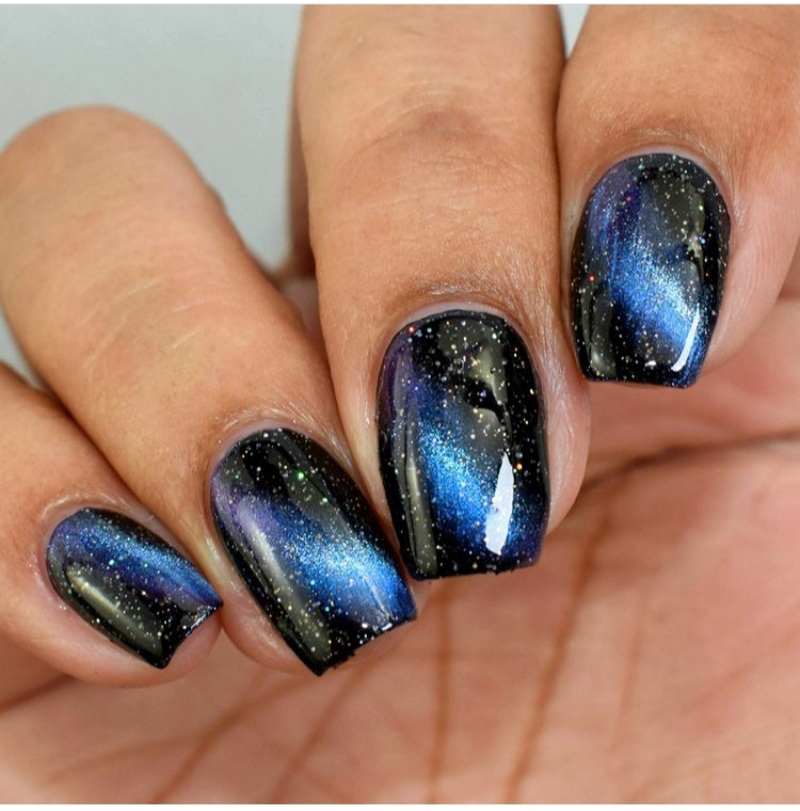
Galaxy nails are a style of nail art designed to mimic the appearance of a galaxy or night sky. They typically start with a black or dark blue base, representing the depth of space. Layers of colour, often purple, blue, and pink, are then dabbed on to create a cloudy, swirling effect. Finally, small white dots and glitter are added to resemble stars, giving the design its signature sparkle.
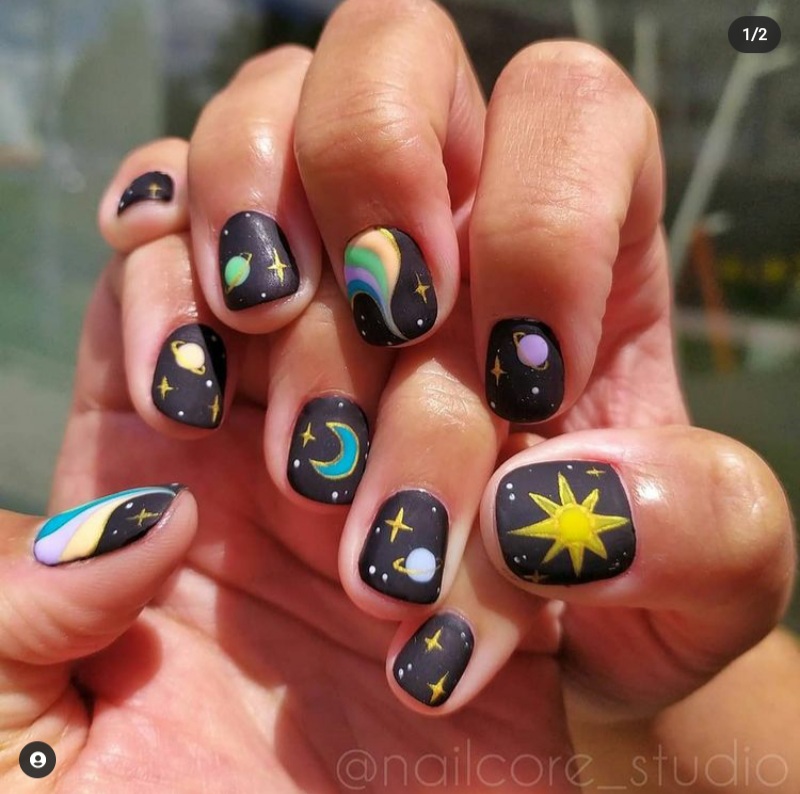
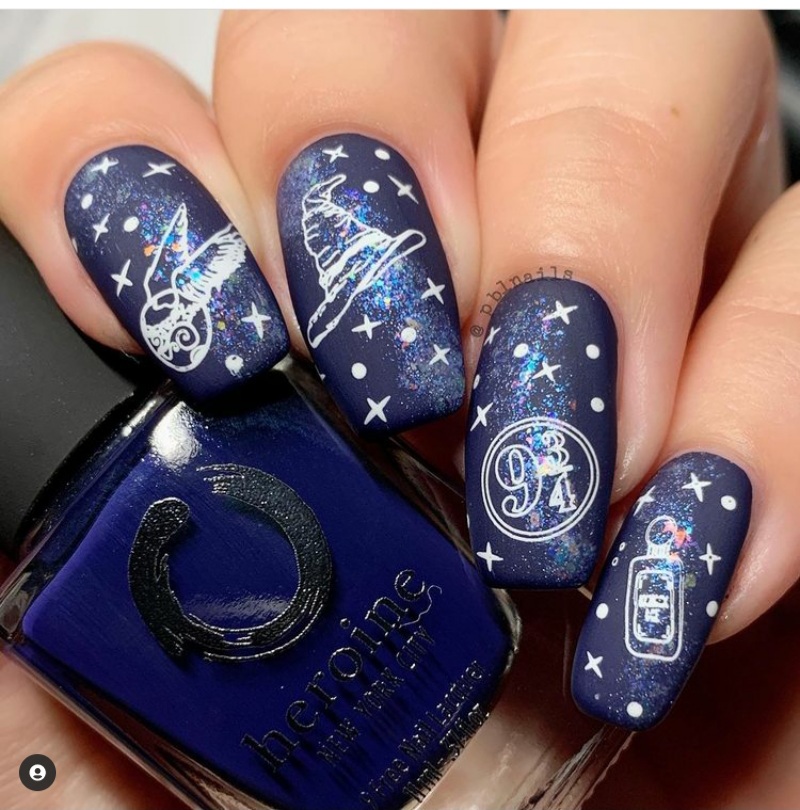
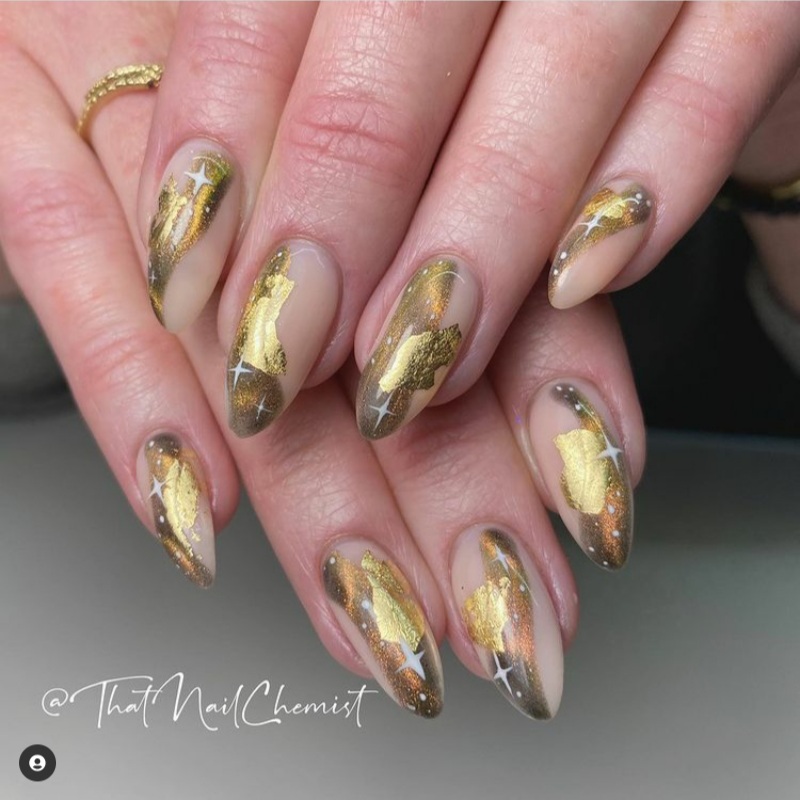
One of the reasons galaxy nails are so popular is that there is no single “correct” way to create them. Each design is unique, allowing you to express your creativity freely. Some people prefer bold, vibrant galaxies full of colour, while others opt for darker, more subtle looks with just a hint of shimmer.
Tools and Materials You’ll Need
Before starting your galaxy nail journey, it’s helpful to gather everything you need. Having your tools ready will make the process smoother and more enjoyable.
You will need a base coat to protect your nails and create a smooth surface. A dark nail polish, such as black or navy blue, will serve as your base colour. For the galaxy effect, choose a few lighter, contrasting shades like purple, bright blue, and pink. A white nail polish is essential for creating stars, while glitter polish or loose glitter adds that cosmic sparkle.
You’ll also need a makeup sponge for blending colours. This is key to achieving the soft, cloud-like effect that defines galaxy nails. A thin nail art brush or even a toothpick can be used to add fine details like stars. Finally, a top coat will seal your design and give it a polished, professional finish.
Preparing Your Nails
Preparation is an important step that should never be skipped. Start by cleaning your nails and removing any old polish. Shape and file them to your desired length and style, whether that’s square, oval, or almond-shaped.
Next, gently push back your cuticles and lightly buff the surface of your nails to create an even base. Apply a clear base coat to protect your natural nails and help the polish adhere better. This step also helps prevent staining from darker colours.
Creating the Galaxy Base
Once your nails are prepped, it’s time to start creating your galaxy. Apply one to two coats of your dark base colour, allowing each coat to dry fully before applying the next. This dark background is essential, as it provides contrast for the brighter colours that will be layered on top.
Take your time with this step to ensure the base looks smooth and even. Any imperfections here may show through the final design, so it’s worth getting it right.
Building the Galaxy Effect
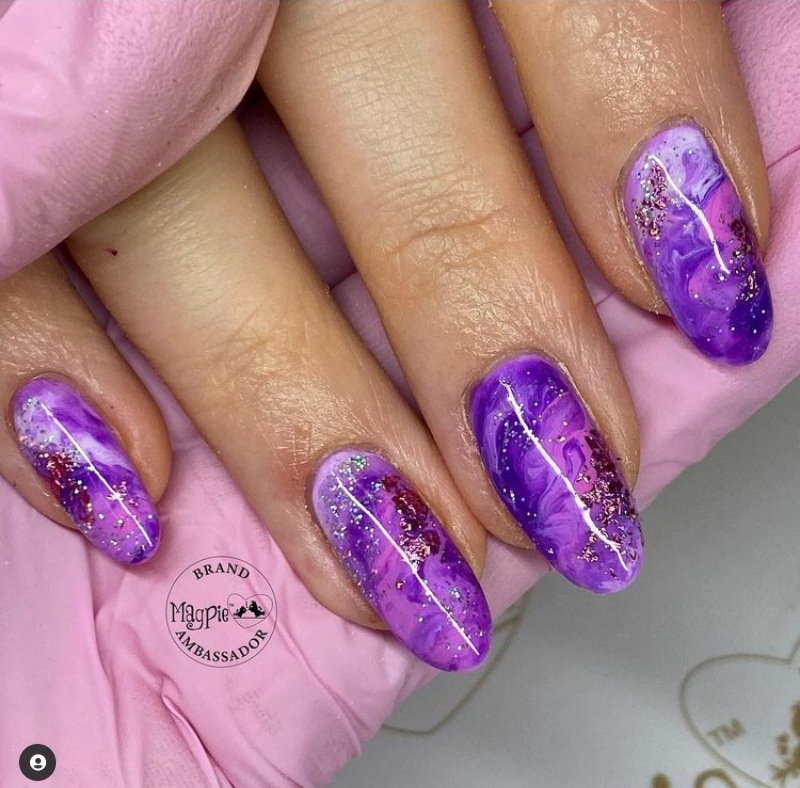
The most exciting part of galaxy nails is building the layered colour effect. Using a makeup sponge, dab small amounts of your chosen colours such as purple, blue, and pink onto the sponge. Then gently press the sponge onto your nails in a random pattern.
The key here is to use a light tapping motion rather than dragging the sponge across the nail. This creates a soft, diffused look that resembles clouds in space. You can repeat this process, layering colours gradually to build depth and intensity.
Don’t worry about making it perfect. In fact, the beauty of galaxy nails lies in their randomness. Uneven patches and overlapping colours help create a more realistic, organic look.
Adding Stars and Details
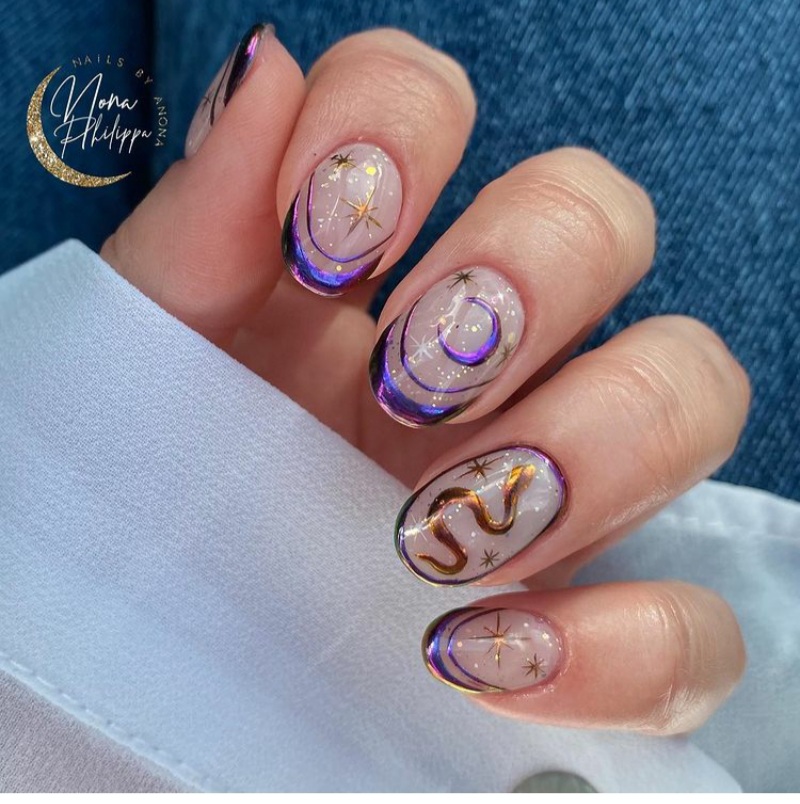
Once you’re happy with your galaxy background, it’s time to add the stars. Using a thin brush or toothpick dipped in white nail polish, create tiny dots across your nails. Vary the size and placement of these dots to make the stars look more natural.
For a more detailed effect, you can add a few slightly larger stars by placing a dot and then lightly dragging the polish outward in different directions to create a starburst shape. This adds dimension and draws attention to certain areas of the design.
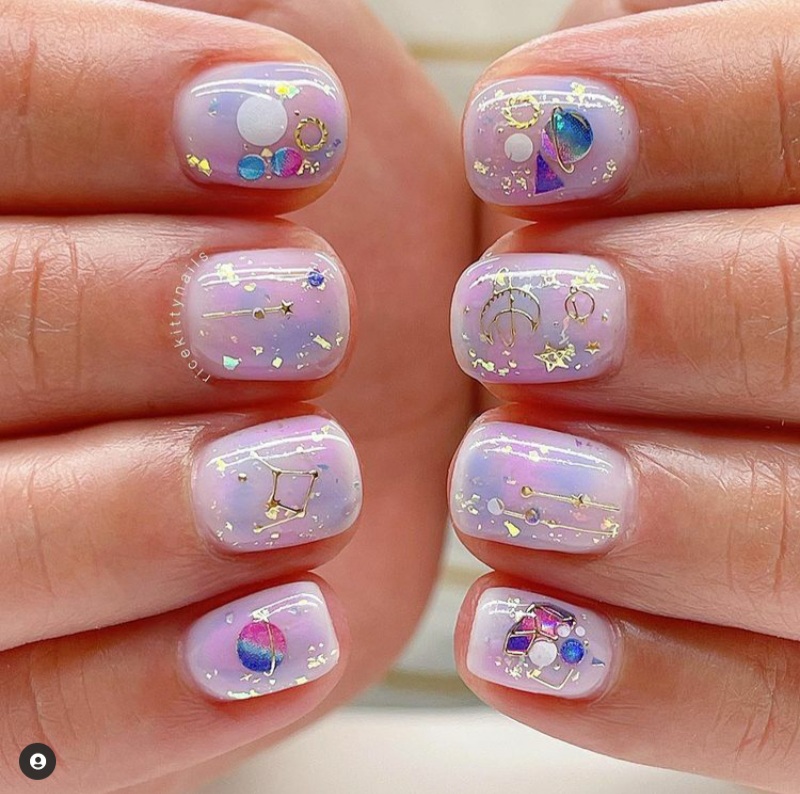
At this stage, you can also apply a layer of glitter polish or sprinkle loose glitter onto your nails. This step enhances the starry effect and gives your nails a beautiful shimmer when they catch the light.
Related Posts


Sealing and Finishing
After all your hard work, it’s important to seal your design with a top coat. This not only protects your nail art but also smooths out the surface, blending all the layers together. A glossy top coat will give your nails a vibrant, polished appearance, while a matte top coat can create a softer, more understated finish.
Allow your nails to dry completely to avoid smudging your design. You can also apply a second layer of top coat after a day or two to maintain the shine and extend the life of your manicure.
Tips for a Flawless Look
Creating galaxy nails is as much about technique as it is about creativity. One helpful tip is to build your colours slowly. Adding too much polish at once can make the design look muddy, so it’s better to layer gradually.
Another tip is to avoid over-blending. While it might be tempting to keep dabbing until everything looks perfectly smooth, a bit of contrast actually makes the galaxy effect more striking. Remember, space isn’t uniform, it’s full of variation and depth.
Practising on a nail wheel or a piece of plastic before working on your actual nails can also help you get comfortable with the technique. This allows you to experiment with colour combinations and patterns without pressure.
Why Galaxy Nails Are So Popular
Galaxy nails continue to be a favourite among nail art enthusiasts for several reasons. First, they are highly versatile. You can customise the colours, intensity, and level of detail to suit your personal style. Whether you prefer bold and dramatic or soft and subtle, galaxy nails can be adapted to match your look.
They’re also suitable for all nail lengths and shapes, making them accessible to everyone. Additionally, the design is forgiving, imperfections often add to the overall effect, rather than detracting from it.
Finally, galaxy nails offer a creative escape. The process of blending colours and creating miniature starry scenes can be both relaxing and rewarding, making it a perfect at-home beauty activity.
Galaxy nails are a beautiful and imaginative way to express yourself through nail art. With their rich colours, dreamy textures, and sparkling details, they bring a piece of the universe right to your fingertips. Best of all, they’re achievable at home with just a few simple tools and a bit of practice.
Whether you’re trying nail art for the first time or looking to expand your skills, galaxy nails are a fantastic choice. So take your time, experiment with colours, and let your creativity shine. You might just surprise yourself with the stunning results you can achieve.

