


As the sun dips down into the horizon, casting a mesmerizing hue across the sky, it’s hard not to lose yourself in the beauty of a sunset. The warm tones, vibrant shades, and subtle gradients blending seamlessly create a picture-perfect moment that we long to capture and remember. But what if we told you that you could carry this breathtaking sight with you wherever you go? Welcome to the world of sunset nails!
Sunset nails have been a popular trend in the realm of nail art, and it’s not hard to see why. They effortlessly capture the essence of a vibrant evening sky, adding a touch of glamor and artistry to your fingertips. Whether you’re a nail art enthusiast or a newbie, sunset nails are a fantastic way to express your creativity and embrace the beauty of nature.

Creating sunset-inspired nails may seem like an intricate task, but with a little guidance and the right tools, you’ll be flaunting a manicure that will leave others in awe. Let’s dive into some tips and tricks that will help you achieve the perfect sunset-inspired nails.
First and foremost, gather your tools. You’ll need a set of nail polishes in sunset shades like warm oranges, deep pinks, fiery reds, and maybe even some hints of purples and blues to recreate the twilight effect. Don’t forget a quality base coat and top coat to ensure a long-wearing manicure.
Start by prepping your nails by gently filing and shaping them to your desired length and shape. Once you’ve achieved your desired canvas, apply a thin layer of the base coat. This not only helps the polish adhere better but also protects your nails from staining.

Now, here comes the fun part! Begin by painting your nails with a base color, preferably a light or medium shade, to mimic the fading daylight sky. Apply two coats, allowing each layer to dry before moving on to the next one. This creates a solid foundation for your sunset gradient.
Next, it’s time to play with the gradient effect. Take a makeup sponge or a dedicated nail sponge and cut it into a small square shape. Apply a strip of each chosen sunset color – darker at the top and lighter at the bottom – directly onto the sponge.
Gently dab the sponge onto your nails, layering on the colors gradually, until you achieve a seamless gradient effect. Remember to clean up any excess polish on your skin with a small brush dipped in nail polish remover.
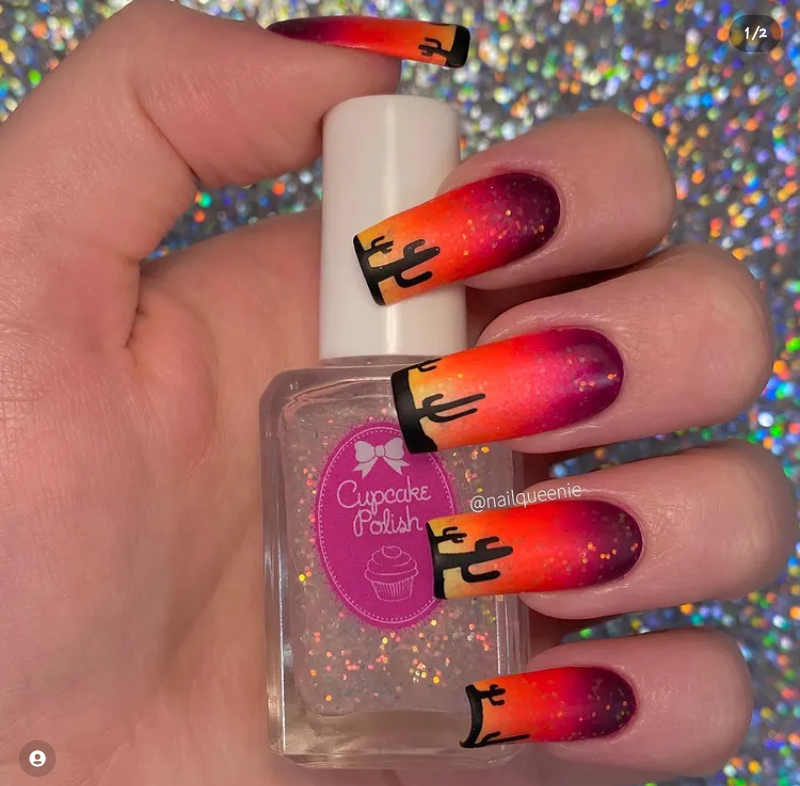
To add more depth and dimension to your sunset nails, you can opt for some nail art techniques. Consider adding small palm tree silhouettes, delicate birds flying, or even a contrasting color as a sunset focal point. Let your imagination run wild!
Finally, seal the masterpiece you’ve created with a topcoat to protect and give your nails a glossy, professional finish. This step also helps to smooth out any texture or unevenness from the gradient.
Sunset nails are guaranteed to turn heads and spark conversations wherever you go. They are unique, artistic, and reflect an appreciation for nature’s beauty. So the next time you find yourself gazing at a mesmerizing sunset, channel that awe and admiration into your nail art. Allow your creativity to soar and express yourself with a set of sunset-inspired nails that truly capture the magic of the evening sky.


Related Posts


