

When it comes to Halloween food, few things are as fun as transforming everyday ingredients into spooky treats. While elaborate desserts and themed party platters can certainly impress guests, sometimes the simplest recipes end up being the biggest hit. That’s exactly why Mummified Corn Dogs have become a Halloween favourite in so many homes.
These adorable little “mummies” take classic corn dogs and wrap them in strips of pastry to resemble ancient bandages. Once baked until golden and crispy, they’re finished with candy eyes or edible decorations to bring each mummy to life. The result is a delicious savoury snack that’s equal parts cute, spooky, and incredibly easy to make.
Whether you’re planning a Halloween party, looking for a fun family dinner idea, or simply want something festive to enjoy during a spooky movie marathon, these Mummified Corn Dogs are guaranteed to disappear quickly.
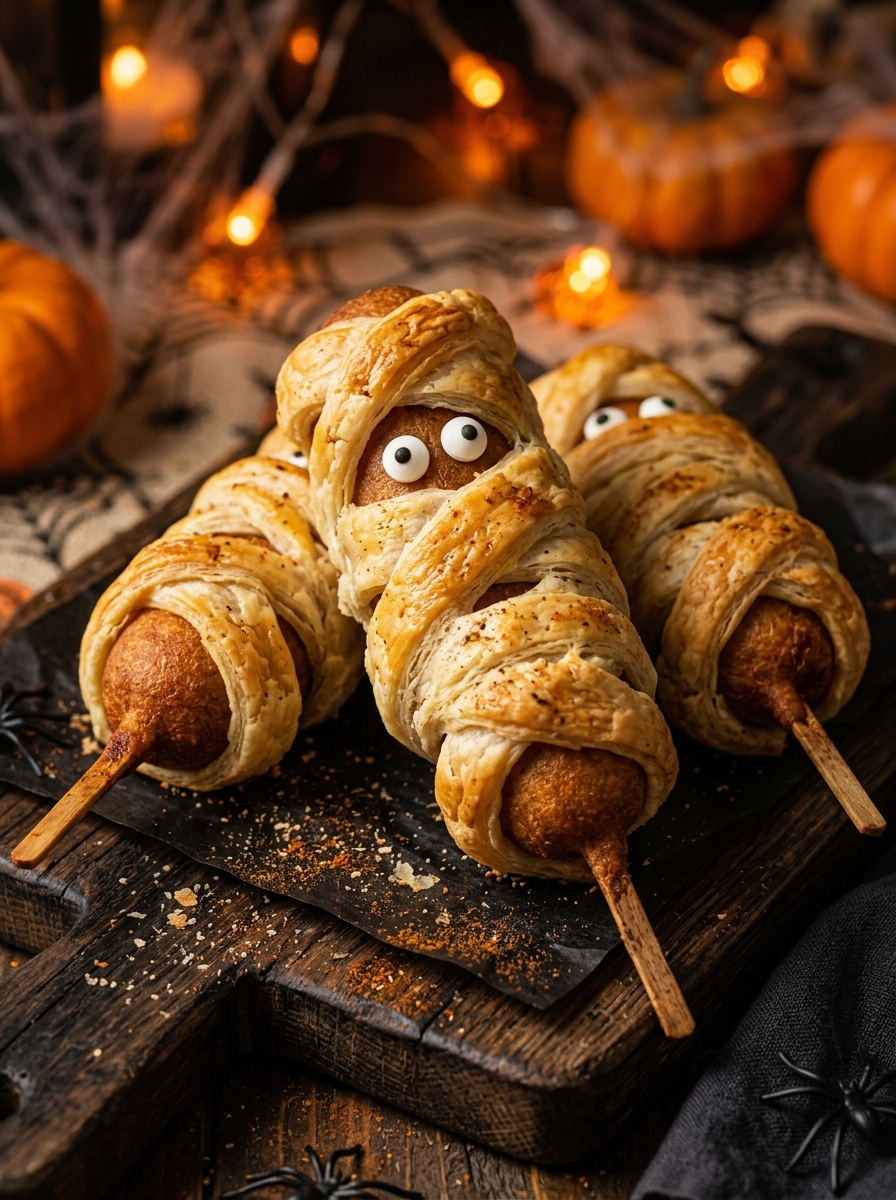
Why You’ll Love These Mummified Corn Dogs
One of the best things about this recipe is that it strikes the perfect balance between fun and convenience. Unlike some Halloween recipes that require lots of decorating skills or specialty ingredients, these little mummies come together with just a few supermarket staples. They’re easy enough for beginners while still looking impressive enough to serve at a Halloween gathering.
Kids especially love helping make them. Wrapping the pastry around the corn dogs can feel like a mini craft project, and no two mummies ever turn out exactly the same. In fact, the slightly messy appearance only adds to their charm. They’re also incredibly versatile. Serve them as an appetiser, party snack, lunch, or even a quick Halloween-themed dinner.
Mummified Corn Dogs Recipe
Ingredients
- 8 corn dogs (frozen or homemade)
- 1 sheet refrigerated puff pastry
- 1 large egg
- 1 tablespoon water
- Candy eyes or edible candy decorations
- Mustard or ketchup for attaching eyes (optional)
Instructions
Step 1: Prepare the Oven
Preheat your oven to 200°C (400°F).
Line a baking tray with parchment paper to prevent sticking and make cleanup easier.
Step 2: Prepare the Pastry
Roll out the puff pastry sheet on a lightly floured surface.
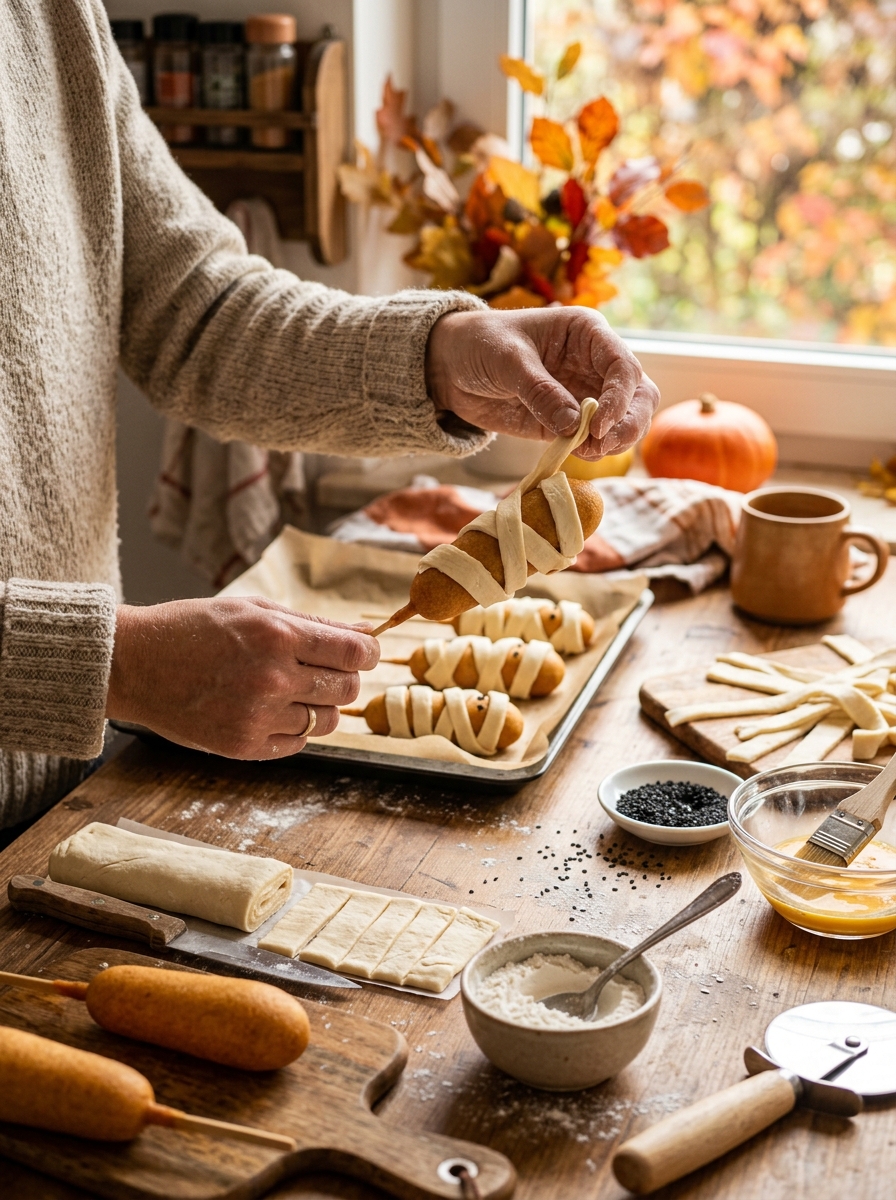
Using a sharp knife or pizza cutter, cut the pastry into thin strips approximately ¼ inch wide.
These strips will become the mummy’s bandages.
Step 3: Wrap the Corn Dogs
Remove the corn dogs from their packaging and pat away any excess moisture if necessary.
Begin wrapping the pastry strips around each corn dog, leaving a small gap near the top for the mummy’s face.
Don’t worry about making the wrapping perfect. Overlapping strips and uneven layers actually make the mummies look more realistic.
Step 4: Apply Egg Wash
In a small bowl, whisk together the egg and water.
Brush the mixture over the pastry-wrapped corn dogs to help them develop a beautiful golden-brown colour while baking.
Step 5: Bake
Place the wrapped corn dogs on the prepared baking tray.
Bake for 12 to 15 minutes, or until the pastry is puffed and golden brown.
Cooking times may vary slightly depending on the brand and size of the corn dogs.
Step 6: Add the Eyes
Allow the mummies to cool for a few minutes.
Attach candy eyes using a small dab of mustard, ketchup, cream cheese, or edible icing.
Once the eyes are in place, your mummified corn dogs are ready to serve.
Related Posts

Tips for the Best Mummified Corn Dogs
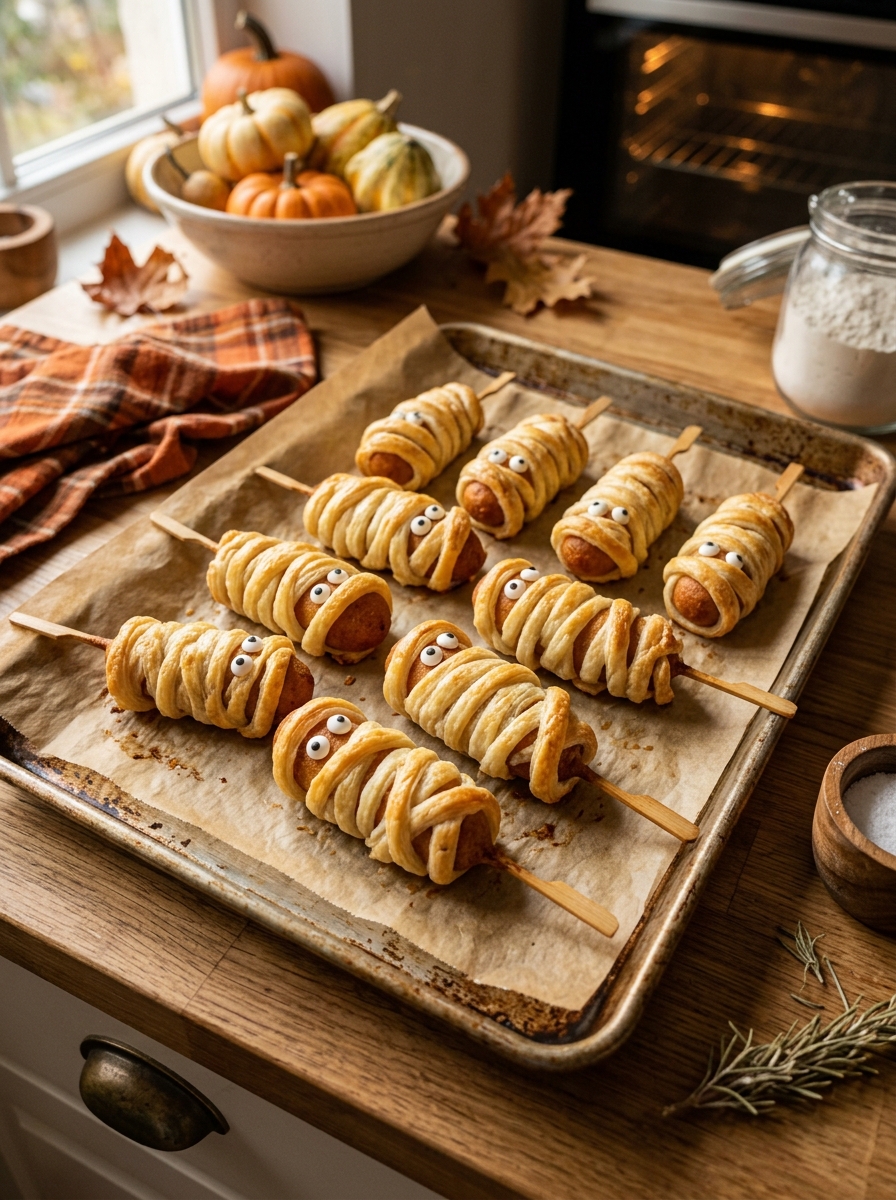
A few simple tricks can help your Halloween mummies turn out perfectly every time. First, avoid wrapping the pastry too tightly. Puff pastry expands during baking, and giving it a little room allows it to puff up beautifully.
Second, remember to leave space for the mummy’s face. This small detail instantly makes the mummies more recognisable and gives you a place to add the candy eyes later.
Finally, don’t be afraid to make each mummy different. Some can have messy wrappings, others can look neatly bandaged. The variety adds character to your Halloween food display.
Fun Variations to Try
One of the reasons this recipe is so popular is because it’s easy to customise.
Cheesy Mummies
Add a thin slice of cheddar cheese before wrapping the corn dogs in pastry. The cheese melts while baking and creates an extra delicious surprise.
Mini Mummy Dogs
Use cocktail sausages instead of full-sized corn dogs to create bite-sized mummy snacks that are perfect for parties.
Spicy Mummies
Add a sprinkle of chilli flakes or spicy seasoning before wrapping for a little extra kick.
Pizza Mummies
Spread a thin layer of pizza sauce on the pastry before wrapping and sprinkle with mozzarella cheese for a fun pizza-inspired twist.
Serving Ideas
Mummified Corn Dogs are delicious on their own, but they’re even more fun when paired with festive dips.
Consider serving them with:
- Ketchup
- Mustard
- Honey mustard
- Barbecue sauce
- Ranch dressing
- Cheese sauce
For a spooky presentation, place the dips in small bowls labelled as “Witch’s Blood,” “Monster Slime,” or “Zombie Sauce.” A little creativity can turn a simple snack into the centrepiece of your Halloween table.
Perfect for Halloween Parties
If you’re hosting a Halloween gathering, Mummified Corn Dogs are one of those rare party foods that appeal to both children and adults. They’re easy to grab and eat while mingling, require minimal cleanup, and can be made in larger batches if you’re feeding a crowd.
Because they can be prepared ahead of time and baked shortly before guests arrive, they’re a practical option for busy hosts who don’t want to spend the entire evening in the kitchen.
Making Them with Kids
Halloween recipes often become memorable because of the experience of making them together, and Mummified Corn Dogs are perfect for little helpers.
Children can assist with wrapping the pastry, choosing where the eyes go, and creating unique mummy personalities. Some may look surprised, others sleepy, and some might end up looking delightfully silly. Those little imperfections often become the most memorable part of the activity.
Mummified Corn Dogs are proof that Halloween food doesn’t need to be complicated to be fun. With just a few simple ingredients and a touch of creativity, you can transform ordinary corn dogs into adorable spooky mummies that fit perfectly into any Halloween celebration.
Whether you’re serving them at a party, making them for a family movie night, or creating festive memories with your children in the kitchen, these tasty little mummies are sure to become a Halloween tradition.
After all, Halloween is about having fun, embracing a little silliness, and enjoying treats that make everyone smile. These golden, flaky Mummified Corn Dogs do exactly that.
Mummified Corn Dogs
Ingredients
- 8 corn dogs frozen or homemade
- 1 sheet puff pastry thawed
- 1 large egg
- 1 tablespoon water
- Candy eyes
- Mustard ketchup, cream cheese, or icing (for attaching eyes)
- Optional: green or black coloured sugar for decoration
Instructions
- Preheat the oven to 400°F (200°C) and line a baking tray with parchment paper.
- Roll out the puff pastry and cut it into thin strips using a knife or pizza cutter.
- Wrap the pastry strips around each corn dog, leaving a small gap near the top for the mummy’s face.
- Arrange the wrapped corn dogs on the prepared baking tray.
- In a small bowl, whisk together the egg and water to create an egg wash.
- Brush the egg wash over the pastry-wrapped corn dogs.
- Bake for 12 to 15 minutes, or until the pastry is puffed and golden brown.
- Remove from the oven and allow to cool slightly.
- Attach candy eyes using a small dab of mustard, ketchup, cream cheese, or icing.
- Serve warm with your favourite dipping sauces.

